Start a new project
You can select an existing project to continue or create a new one. Select "Create a New Project" to create a brand new project. Select an existing project to open a project you are already working on
Creating a new project
Click on create new project button to create a new project.
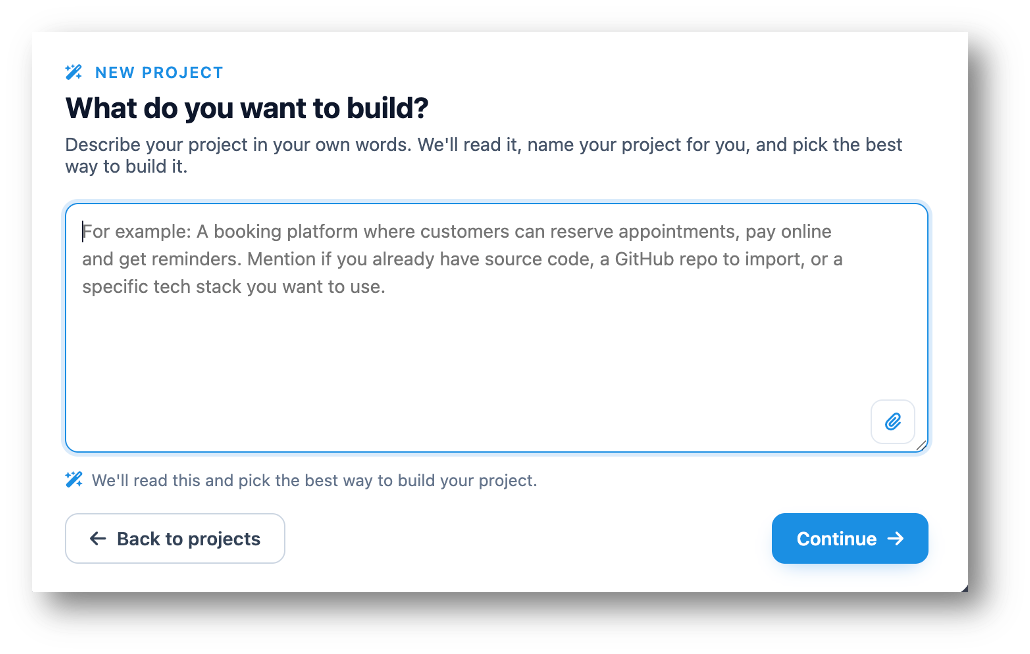
- In the Dashboard, click on Create a New Project button
- Describe the project you want to create.
-
Click on Continue button.
-
The application will analyze the description of the app and will
generate suggestion, thus this screen popup will appear.
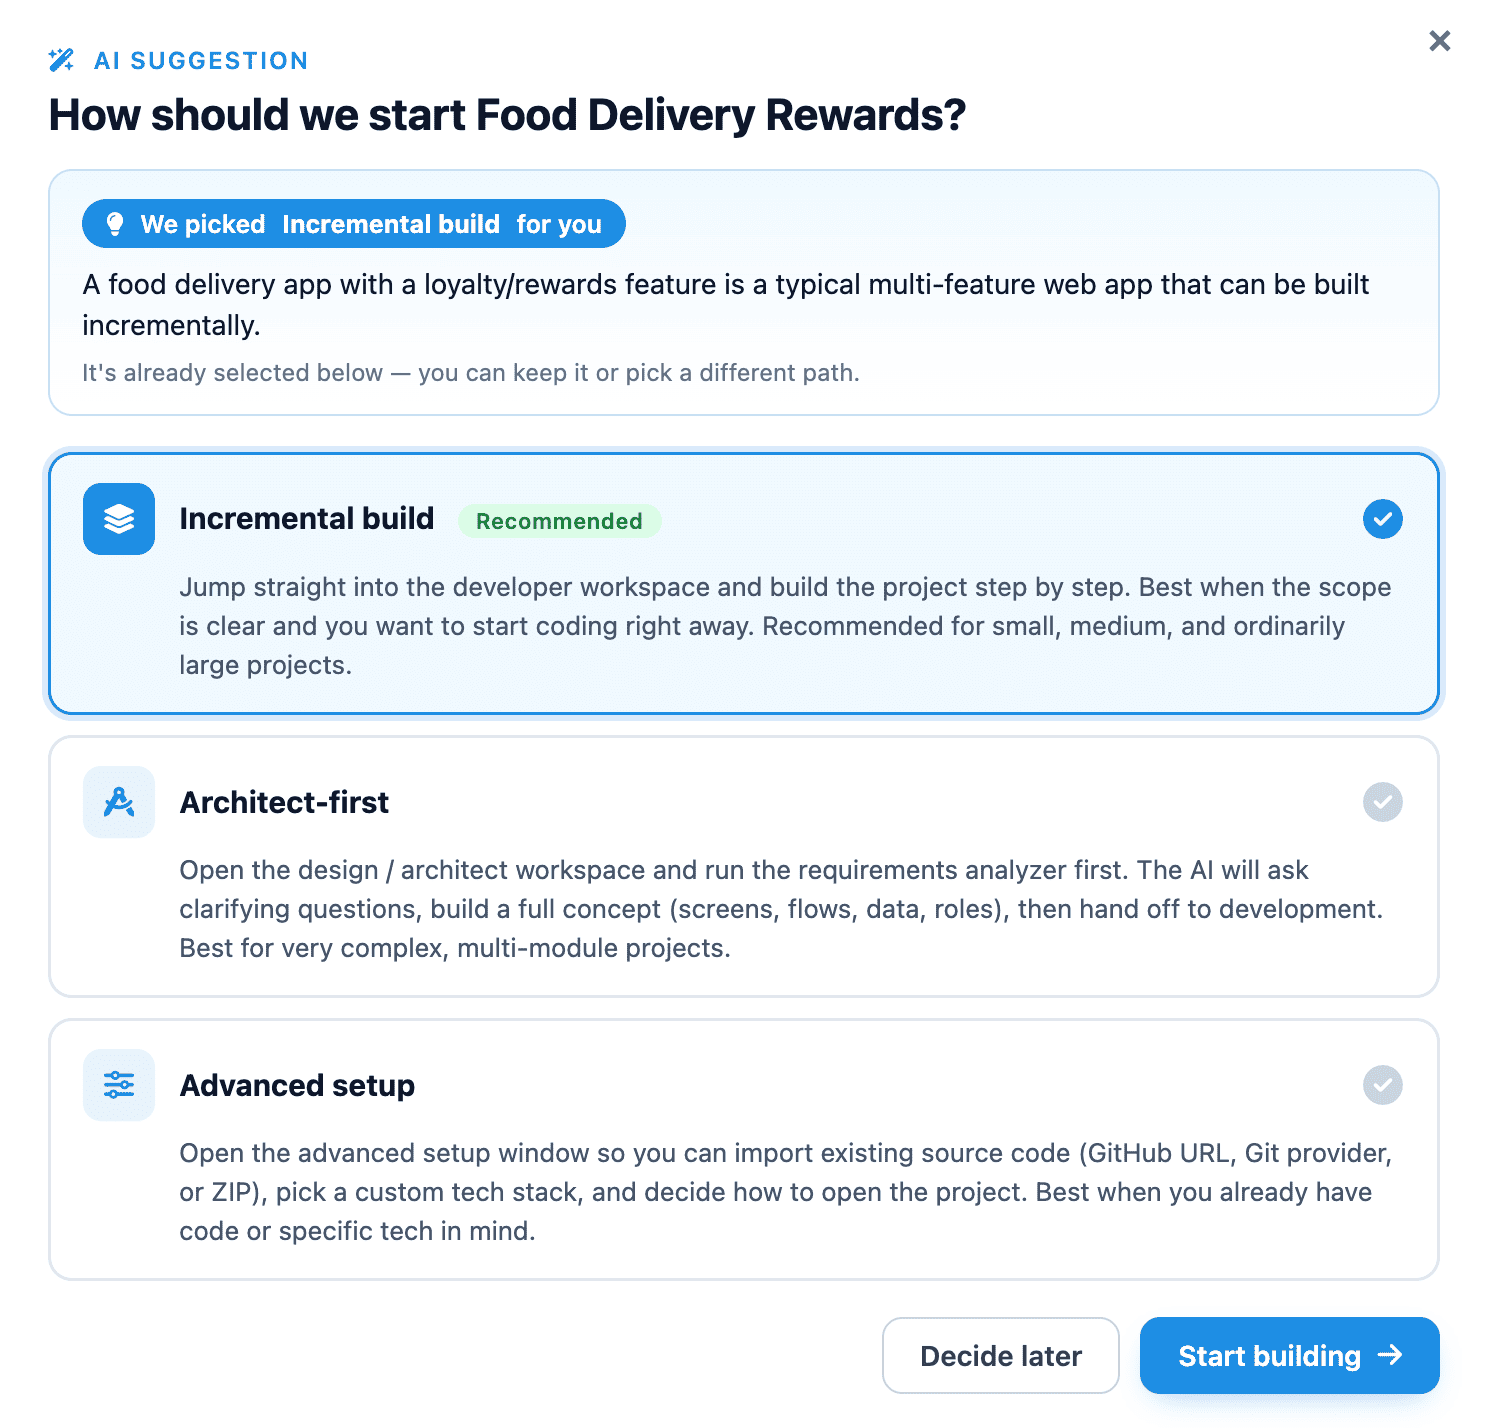
- Select any option or simply choose the recommended option, then tap on Open Architect button.
-
AI will generate a couple of questions for
Requirements Analysis
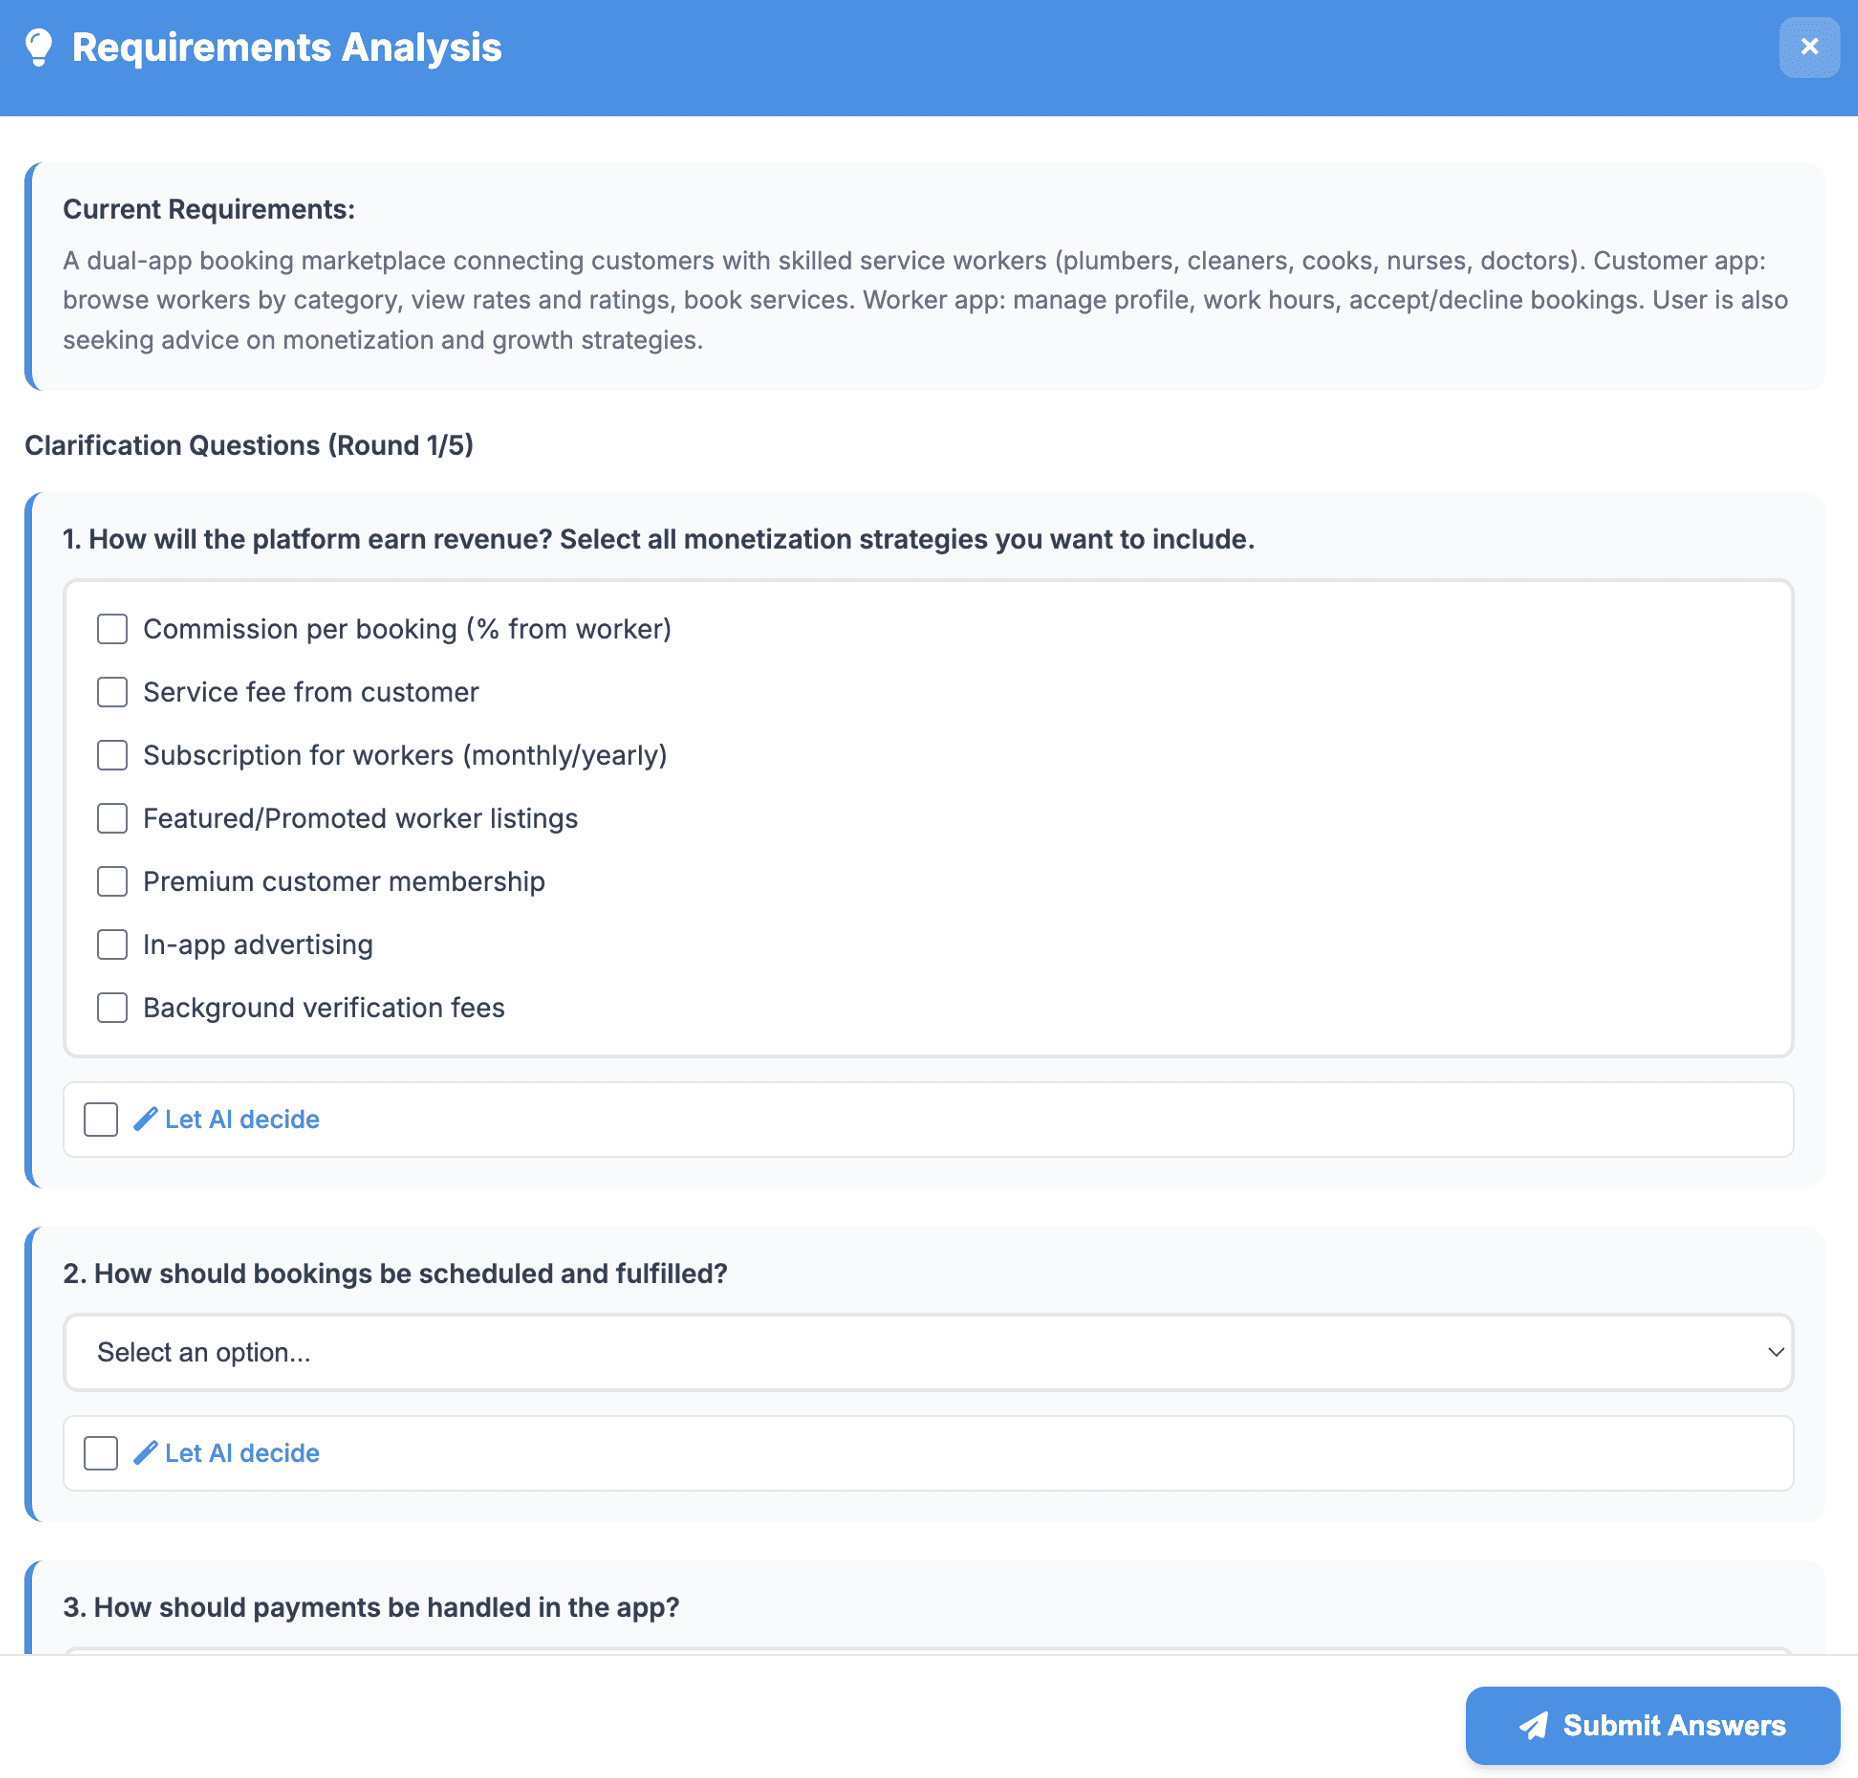
- Once all set, click on Submit Answers button.
-
Once all set, a summary of requirements will be generated for
your review and approval to build the app.
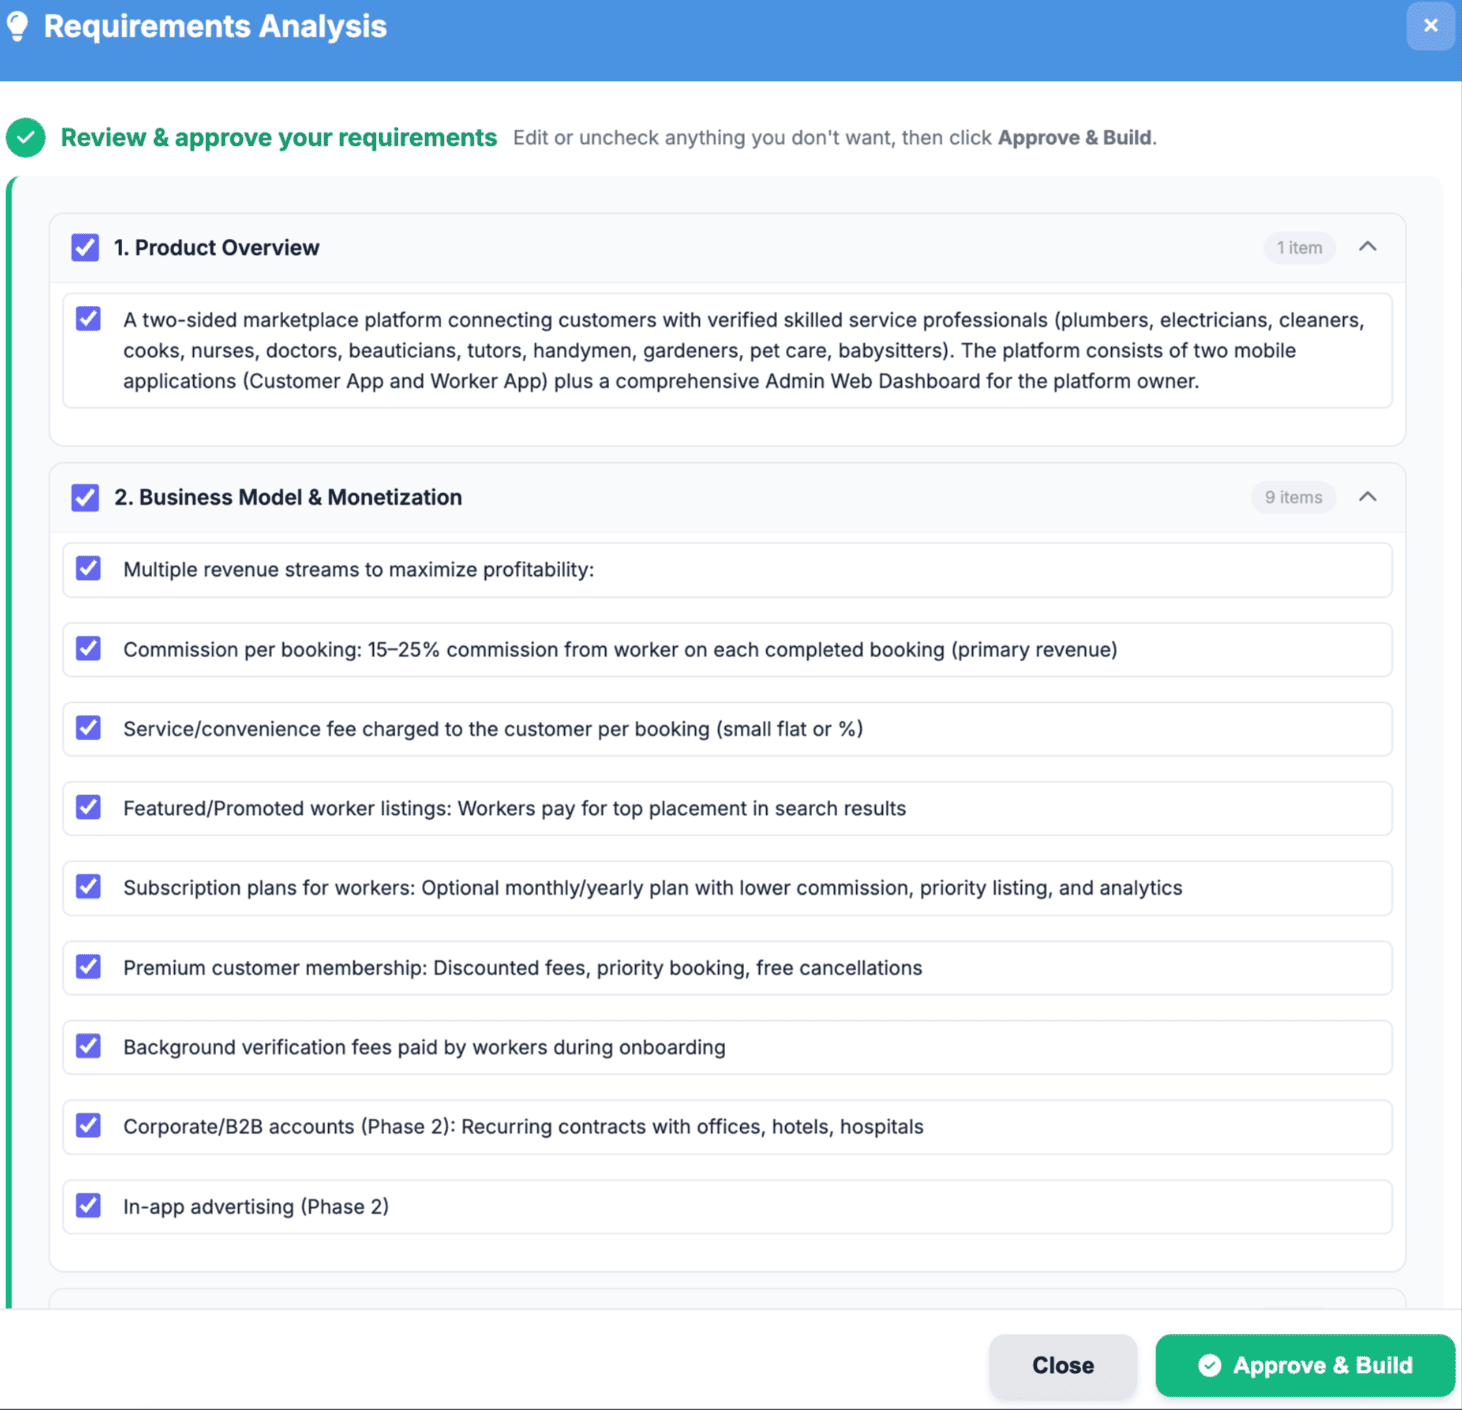
- Think4Ever will analyze the requirements for a few minutes.
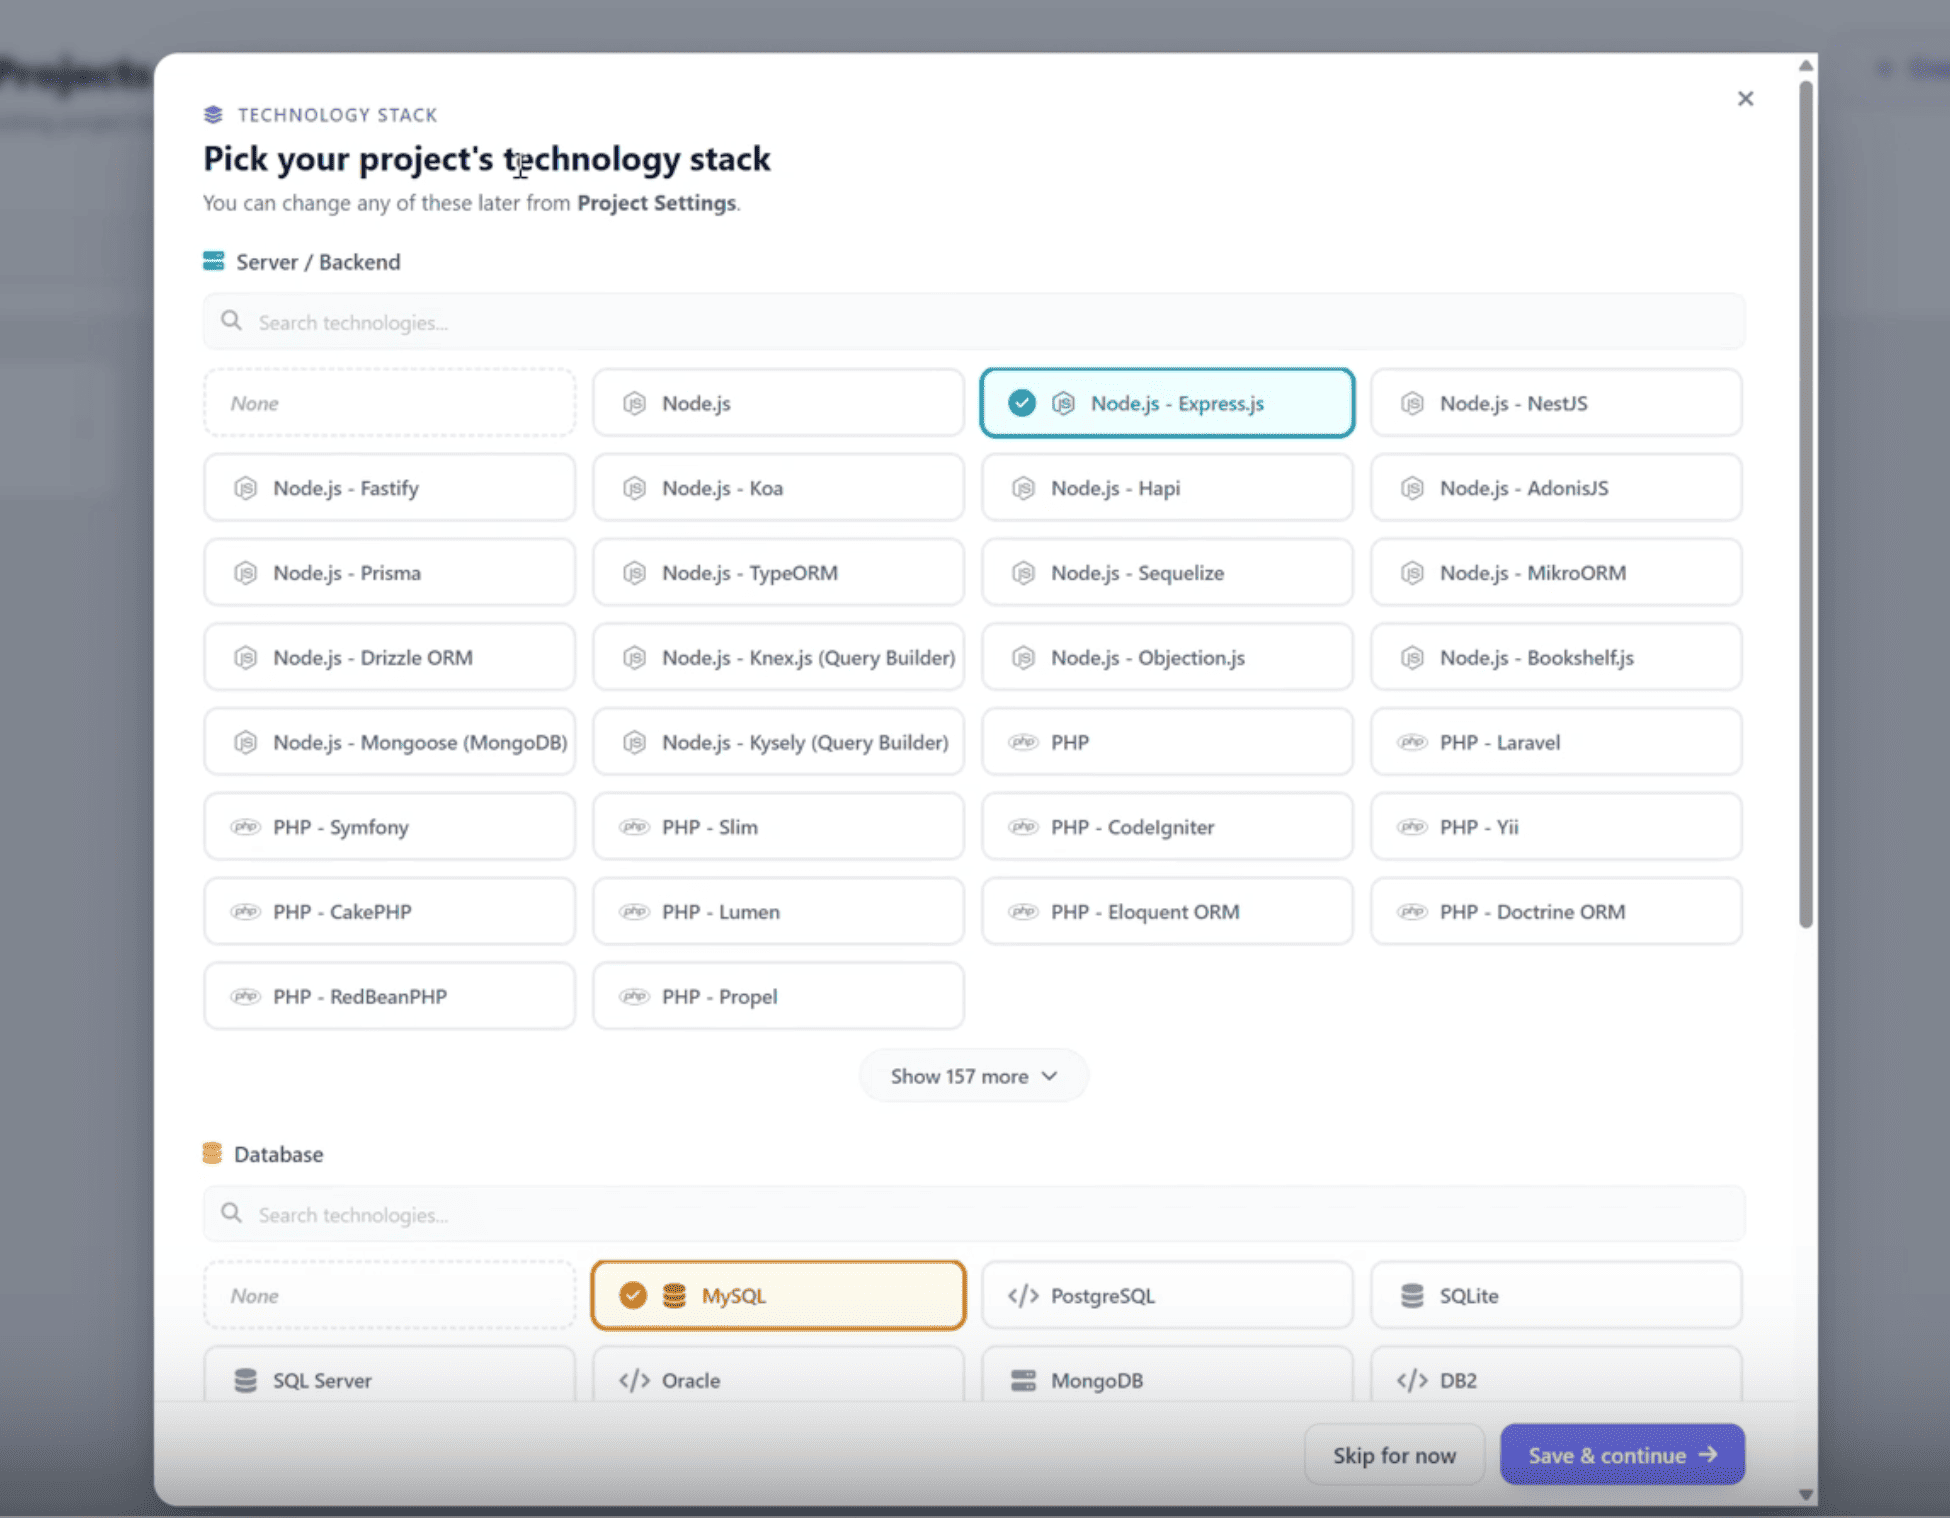
Choose how you would like to start.
Start fresh with a new build or import an existing project to keep going.
Manually choose stacks
Developer Dashboard
Once you choose 'Developer Mode' it will take you to the developer dashboard.
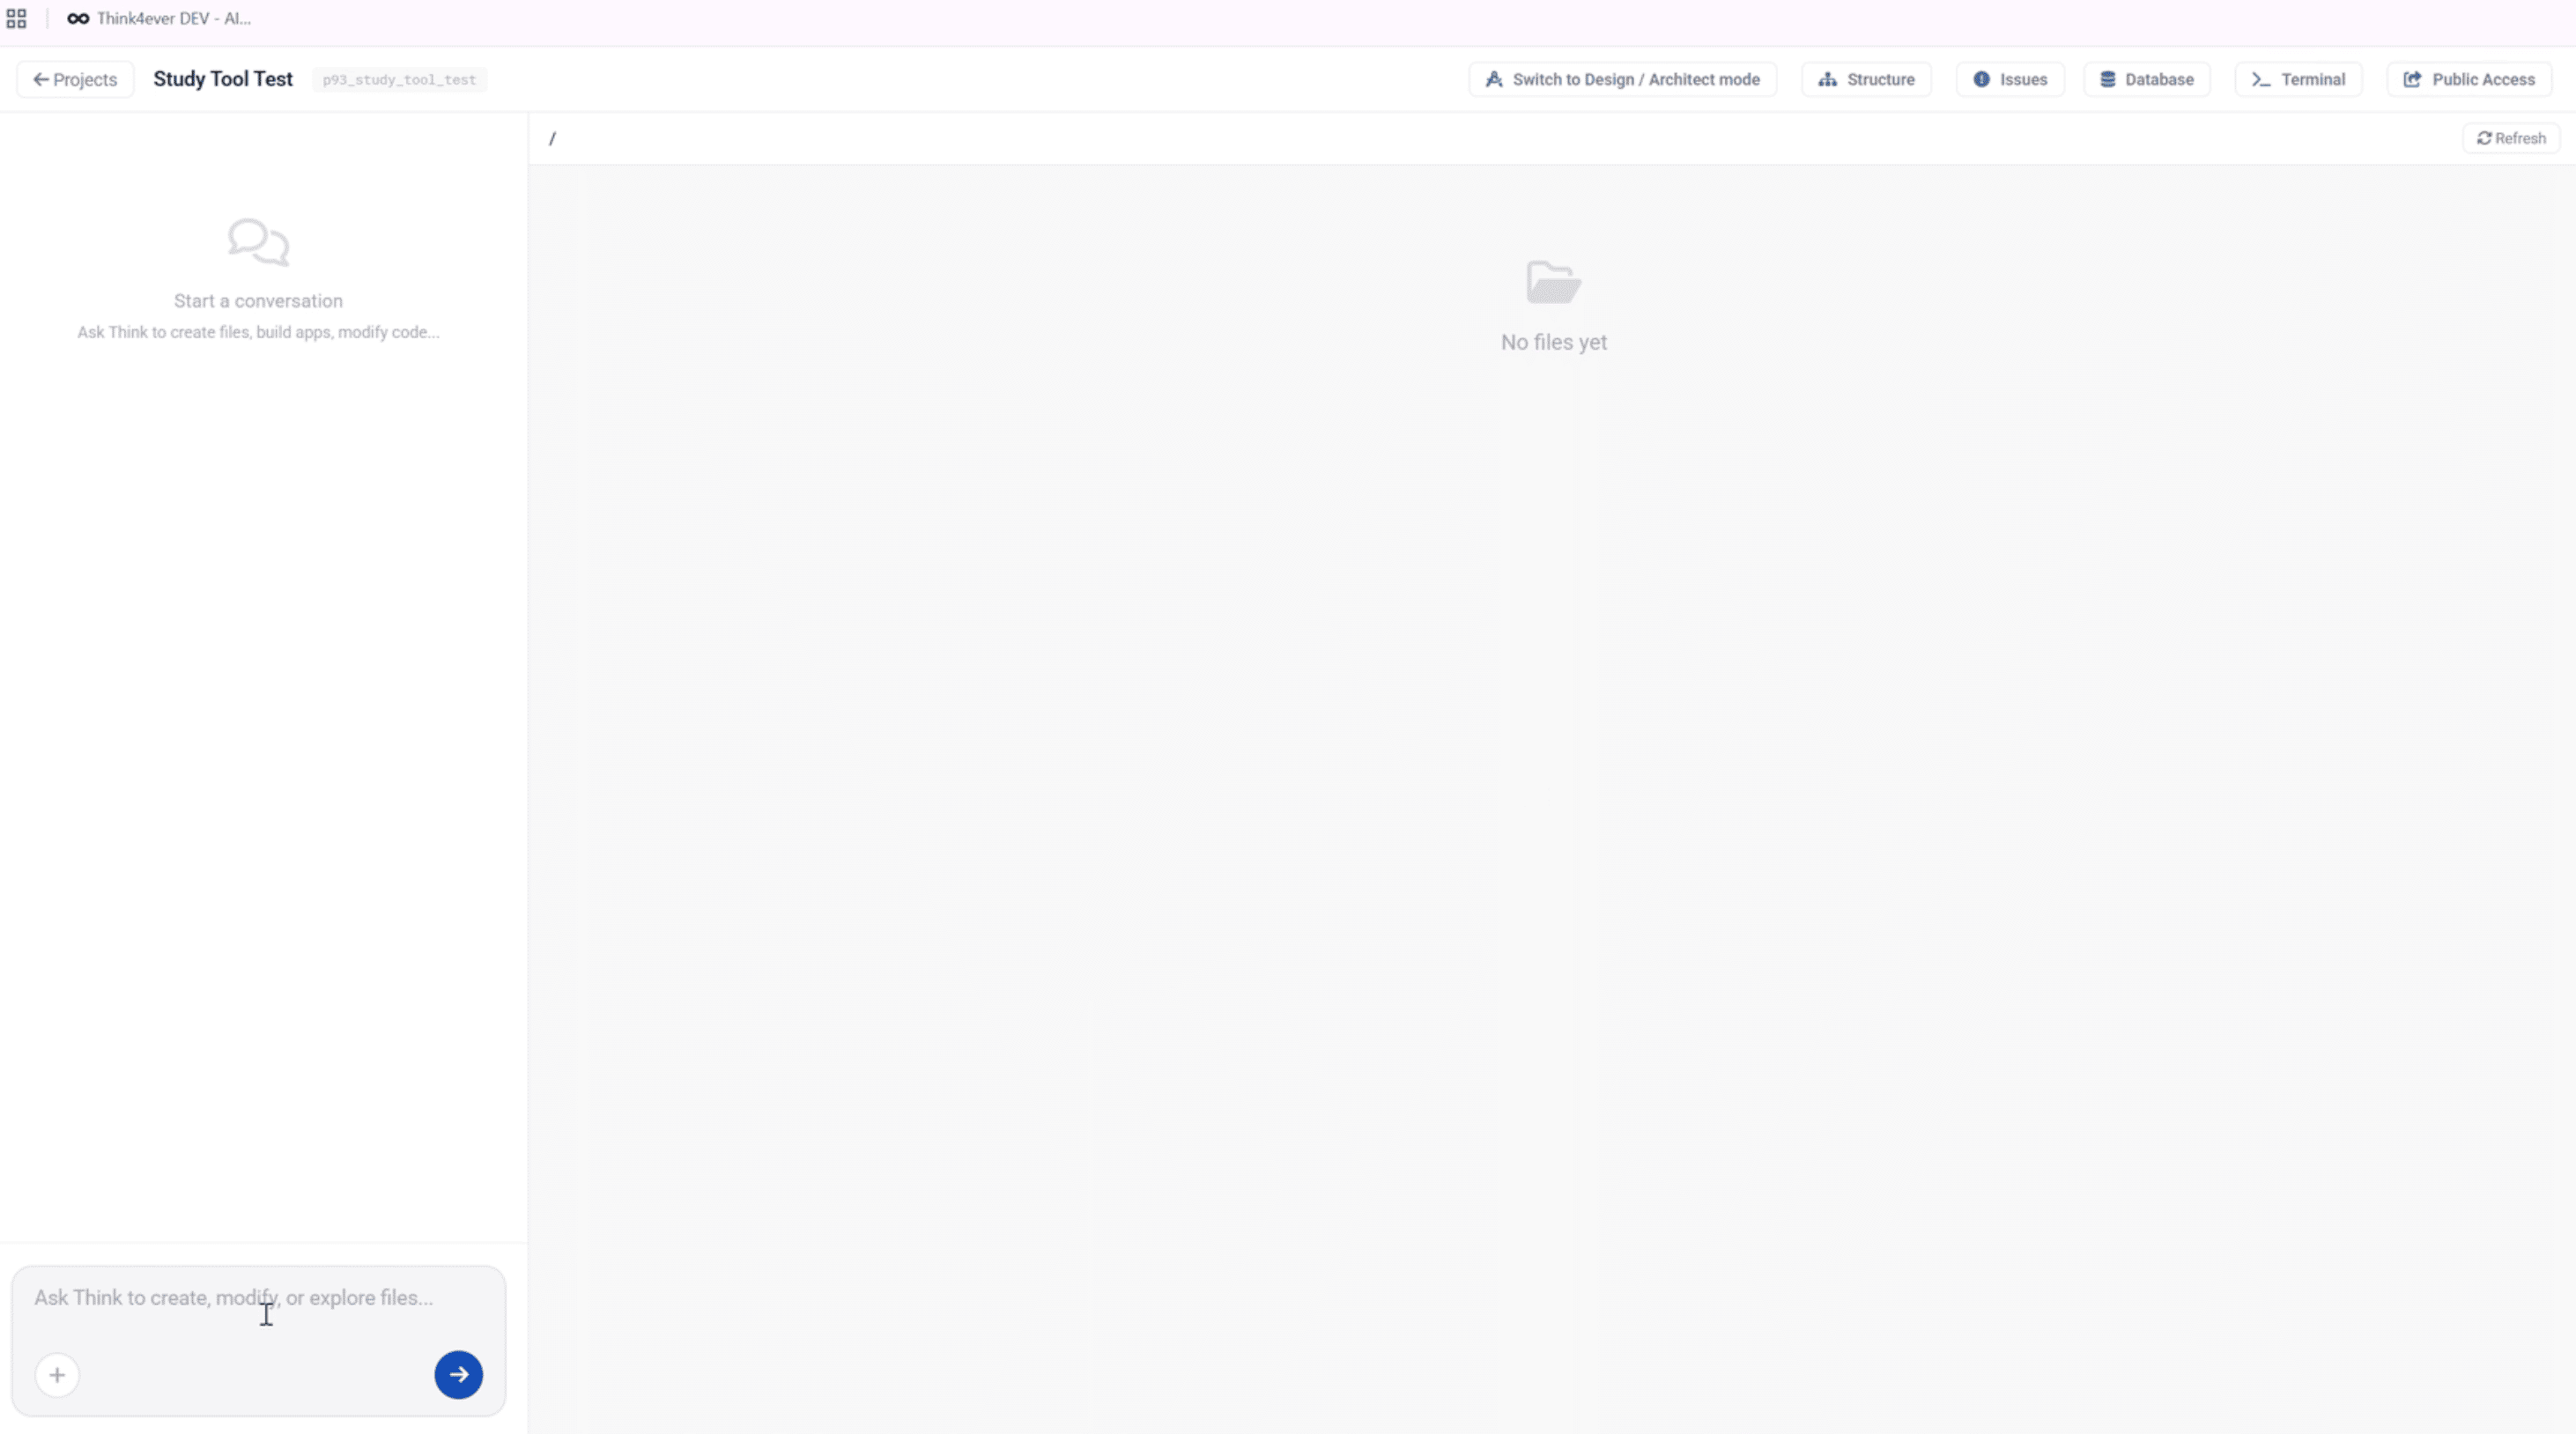
Write Prompt
Once the dashboard loads, you are ready to begin writing your requirements. You also have the option to upload your requirements.
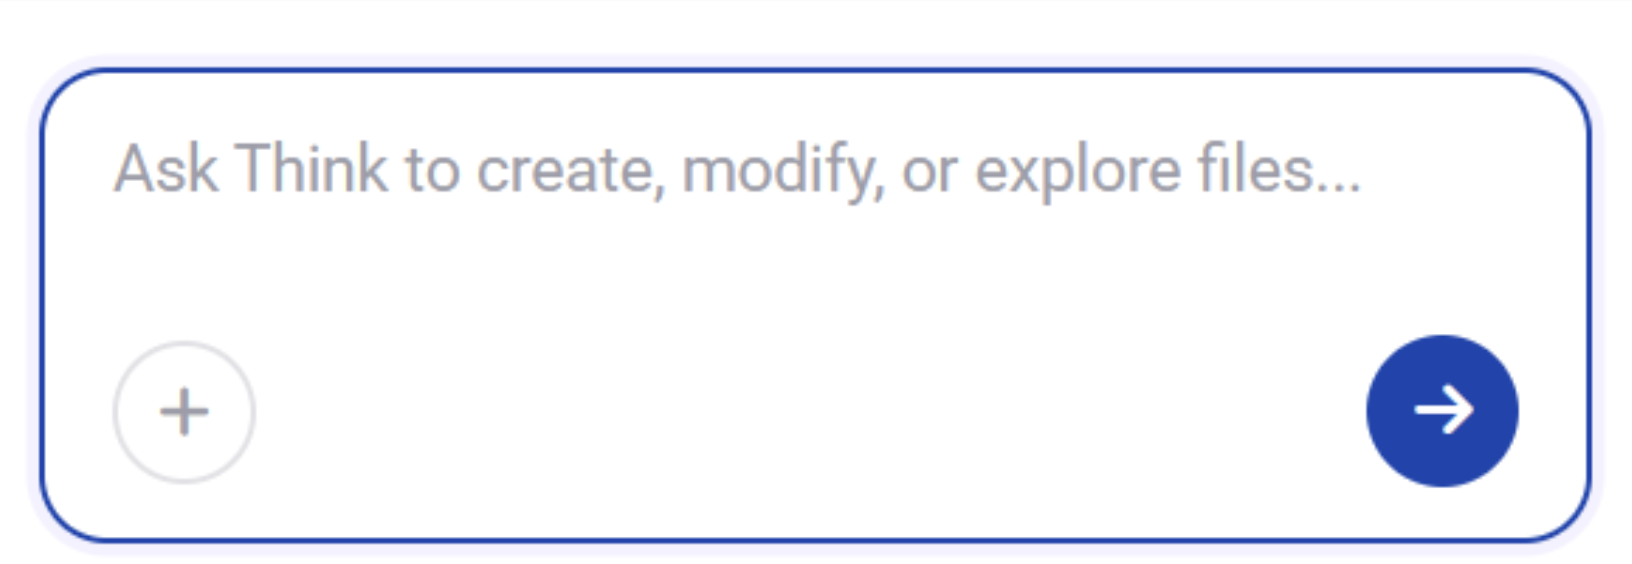
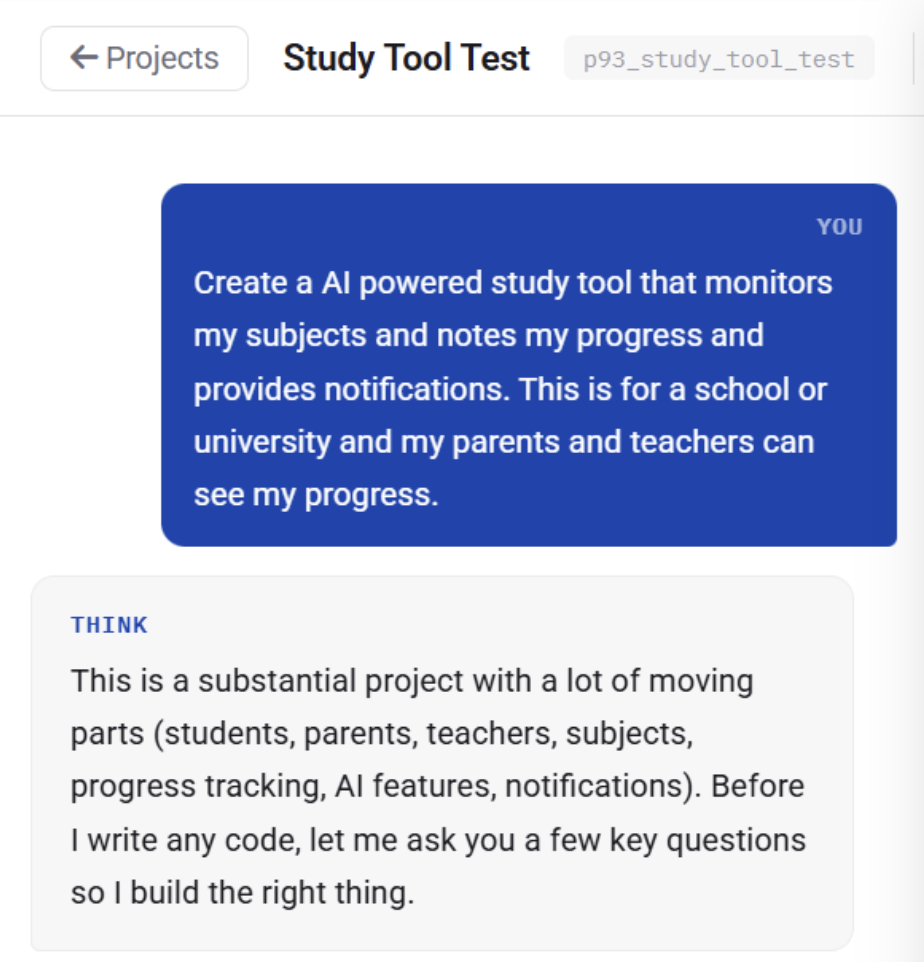
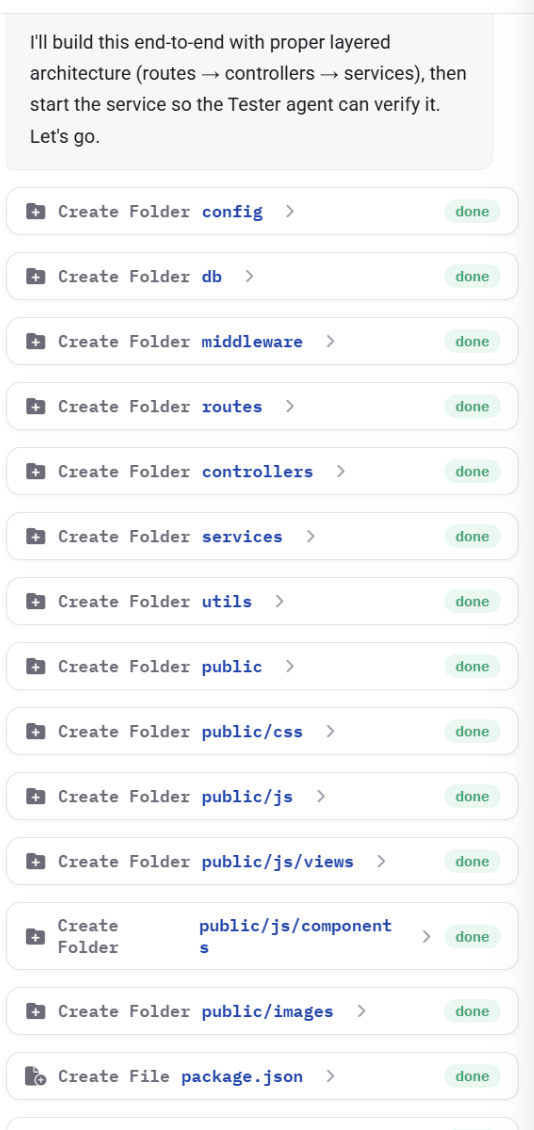
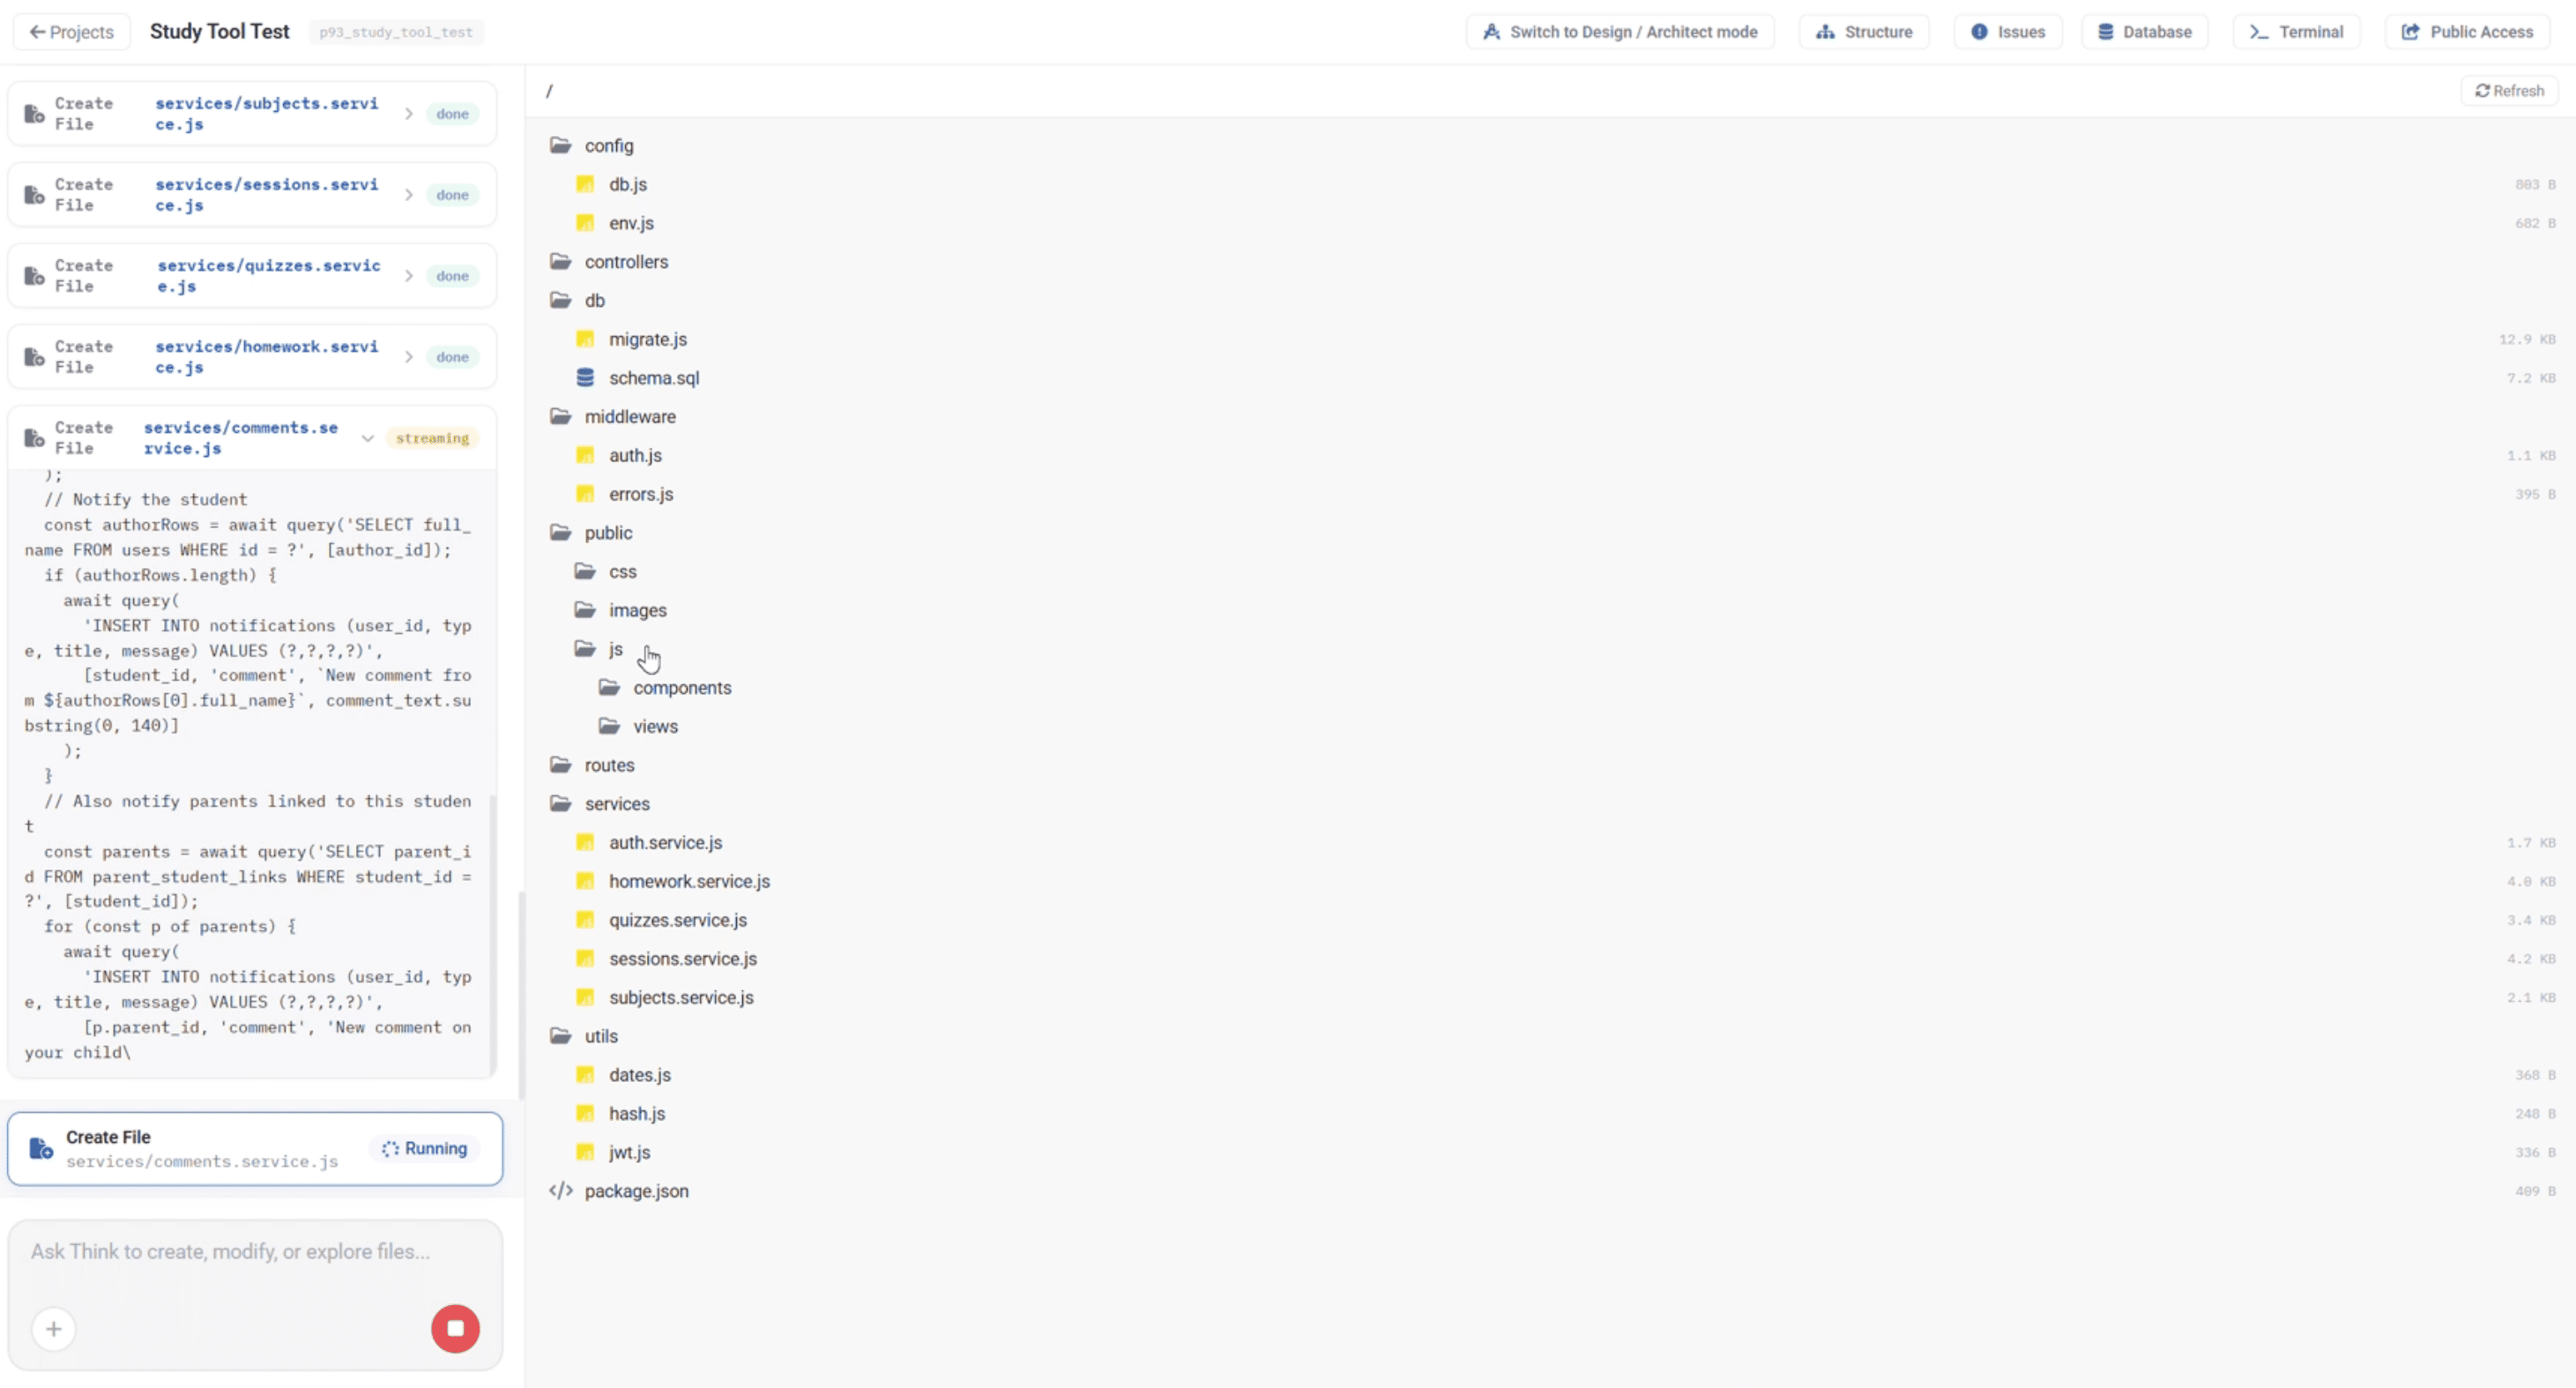
Generating Code
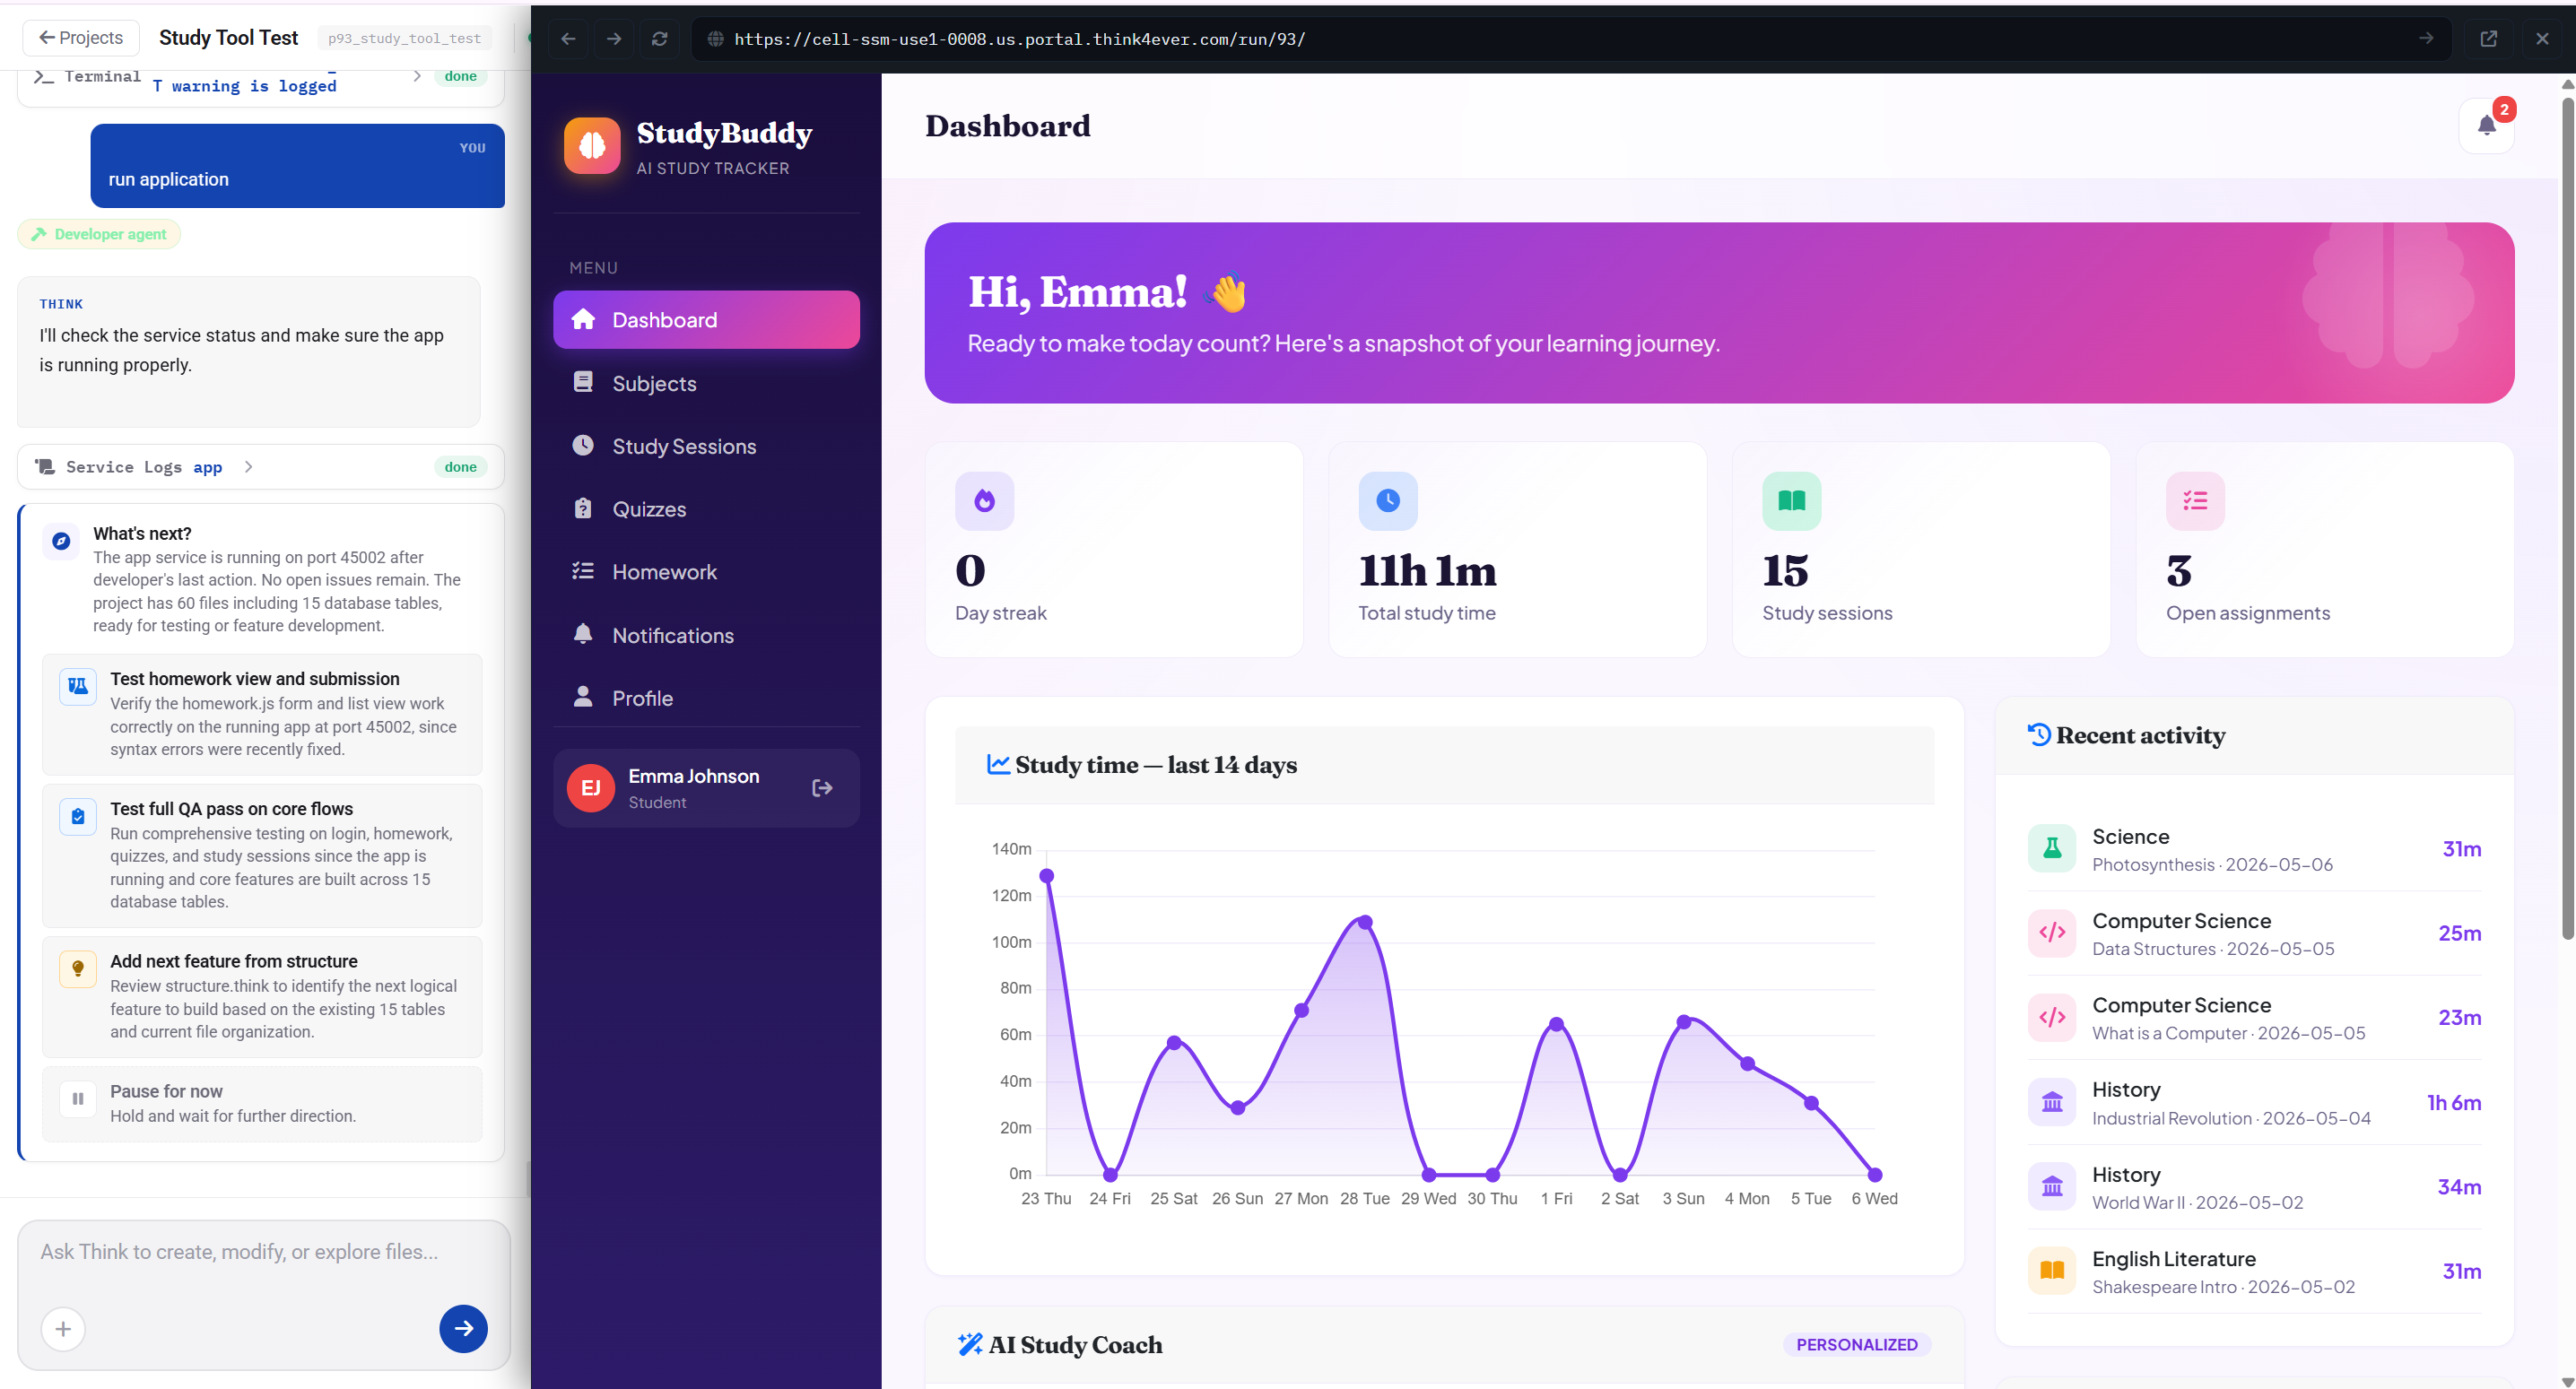
Once you answer all the questions Think4Ever will get an overall picture of the project and will start generating the code. You can see the code generation in real time. Once the code generation is complete The platform will come up with a few suggestions on moving forward. In the screenshot the platform asks the end user to make a decision based on the options provided.