
Think4ever Developer Mode
Think4ever Designer is the platform’s visual architecture and intent-driven design environment, created to bridge the gap between business requirements, system architecture, and production code. It enables system architects, software engineers, business analysts, and quality assurance teams to model, review, and validate complex software workflows before or alongside code execution.
Build, test, and bring your software ideas to life.
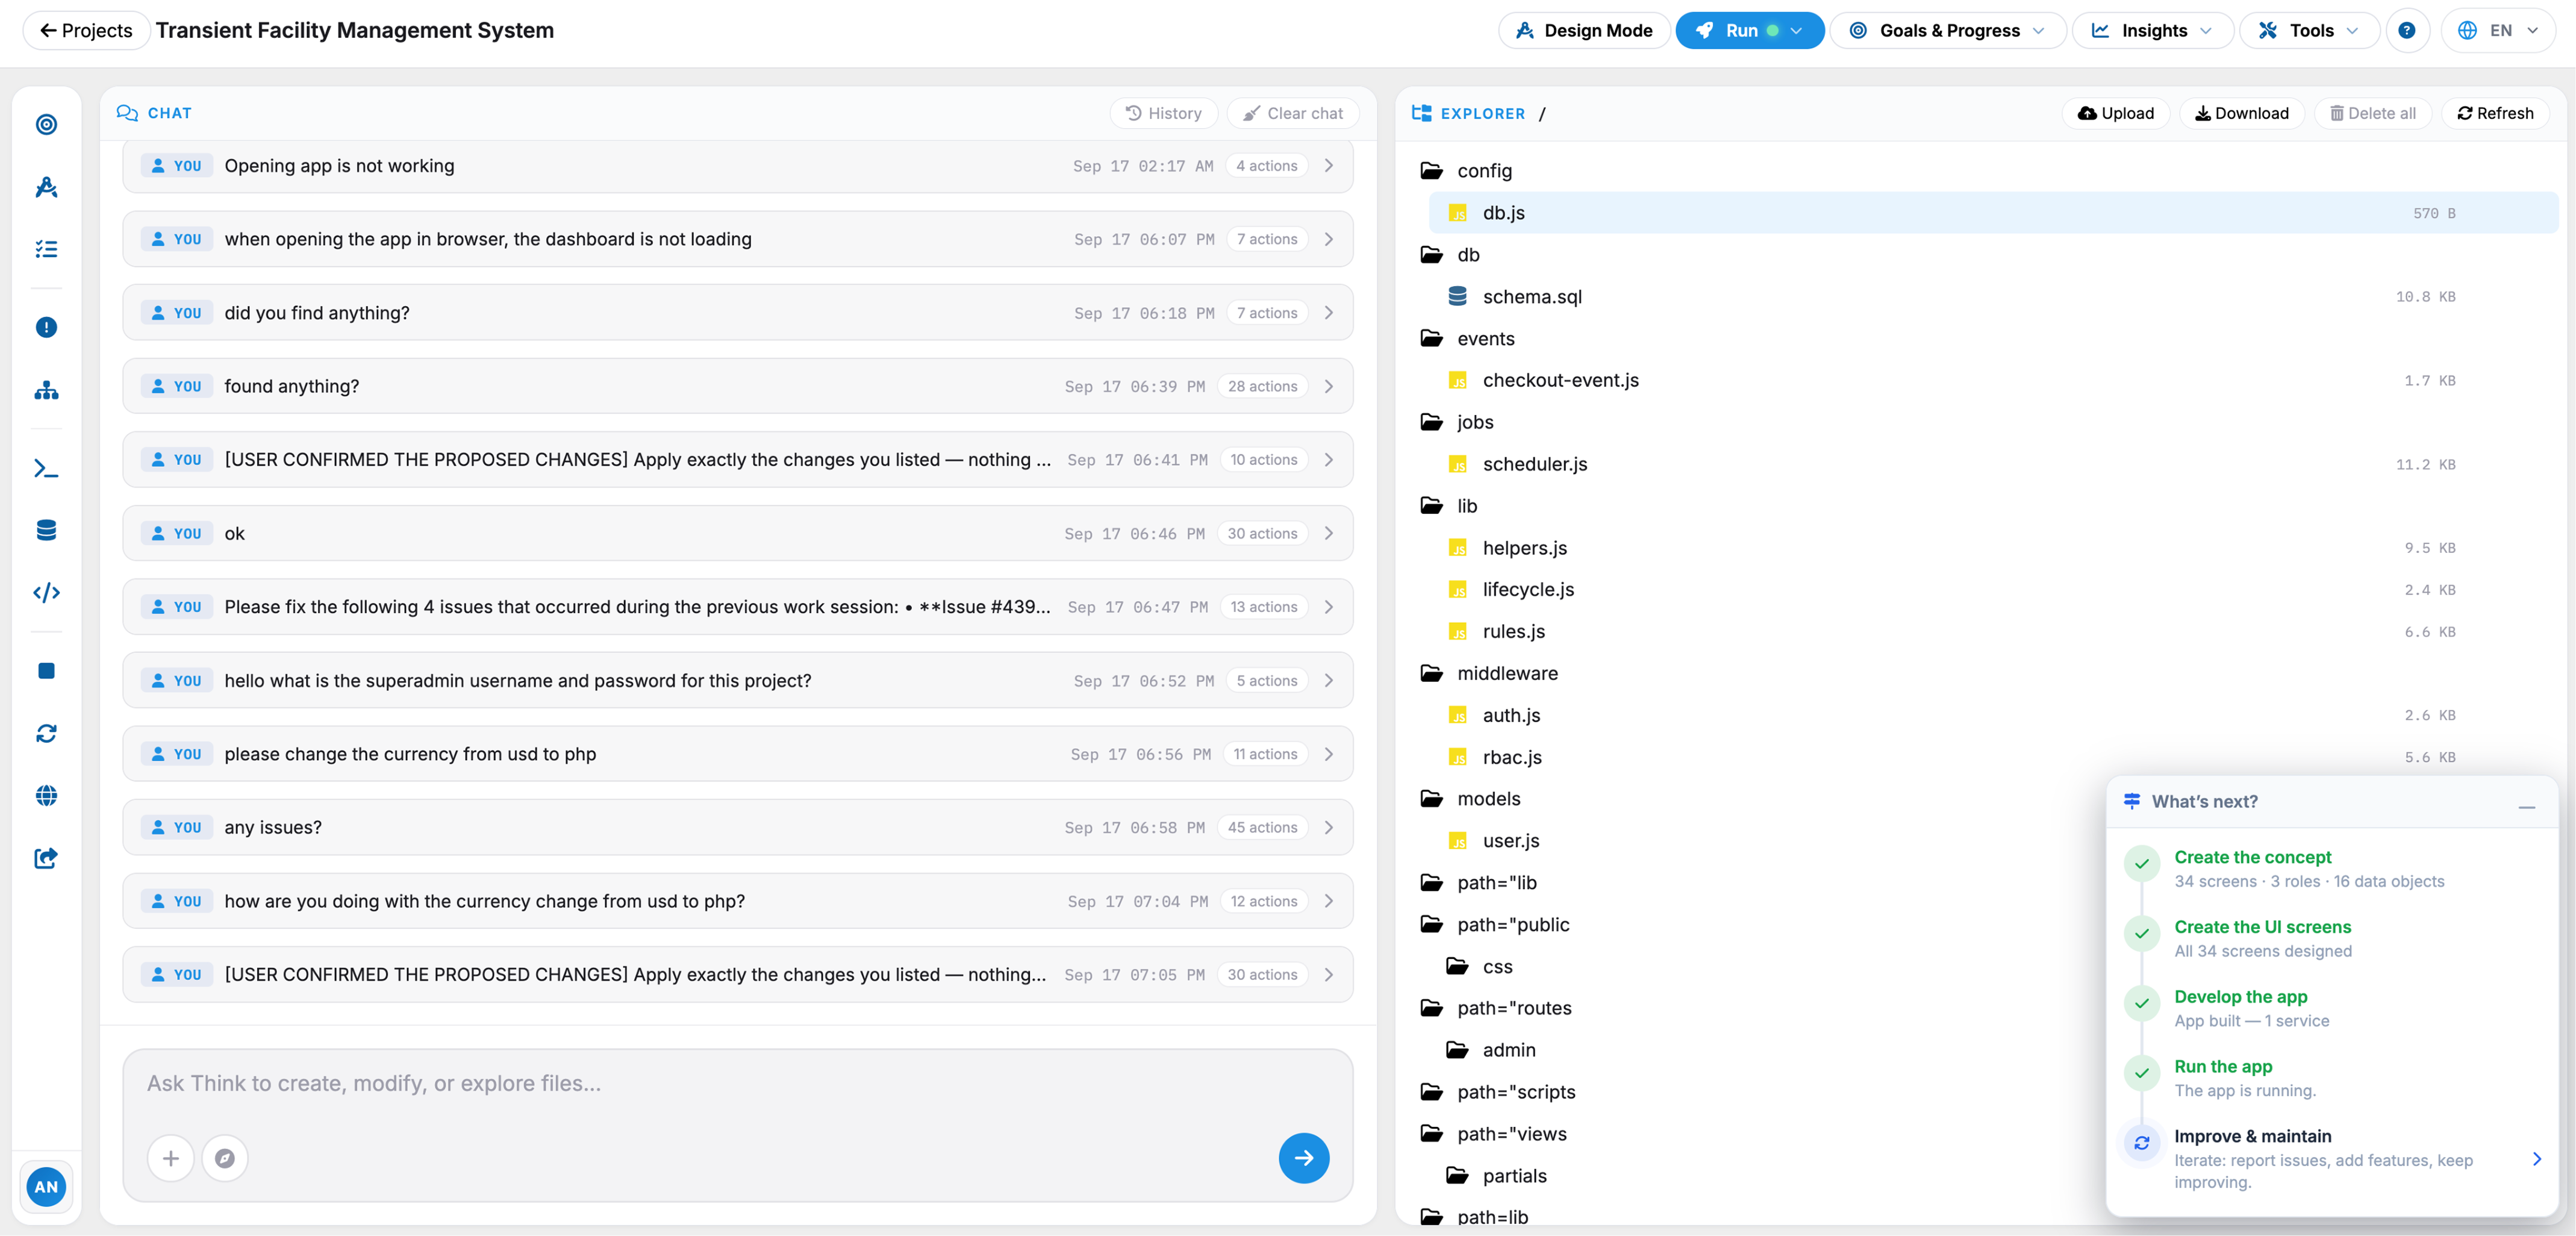
Think4Ever Developer Mode helps you transform ideas, requirements, and concepts into functional software faster and more efficiently. Whether you’re developing a website, application, feature, or system, Developer Mode provides AI-powered assistance throughout the development process.
 Click to enlarge
What You Can Do#
- Build Applications – Turn ideas and requirements into functional software.
- Generate Code – Create code and development components based on your requirements.
- Debug & Fix – Identify issues, troubleshoot errors, and improve your code.
- Test Functionality – Validate and test features as they are being built.
- Improve & Optimize – Refine code, performance, usability, and functionality.
- Accelerate Development – Reduce development time with AI-assisted workflows.
Dev Mode (</> Dev Mode) is a quick-toggle control located in the top-right header
bar that switches the
workspace view
into a developer-focused environment.
- Developer View Toggle: Switches the canvas and interface from visual design mode to code-centric views, revealing underlying source code, technical specifications, and API payload schemas.
- Code & Schema Inspection: Provides technical teams with direct access to generated code snippets, component properties, and backend configuration structures required for implementation.
- Location: Situated in the primary header between Open App and the user profile dropdown.
 Click to enlarge
- Developer View Toggle: Switches the canvas and interface from visual design mode to code-centric views, revealing underlying source code, technical specifications, and API payload schemas.
- Code & Schema Inspection: Provides technical teams with direct access to generated code snippets, component properties, and backend configuration structures required for implementation.
- Location: Situated in the primary header between Open App and the user profile dropdown.
When Dev Mode (</> Dev Mode) is enabled, the workspace shifts into an advanced developer console
designed for direct code inspection, prompt-based adjustments, and technical asset management.
Core Workspace Layout#
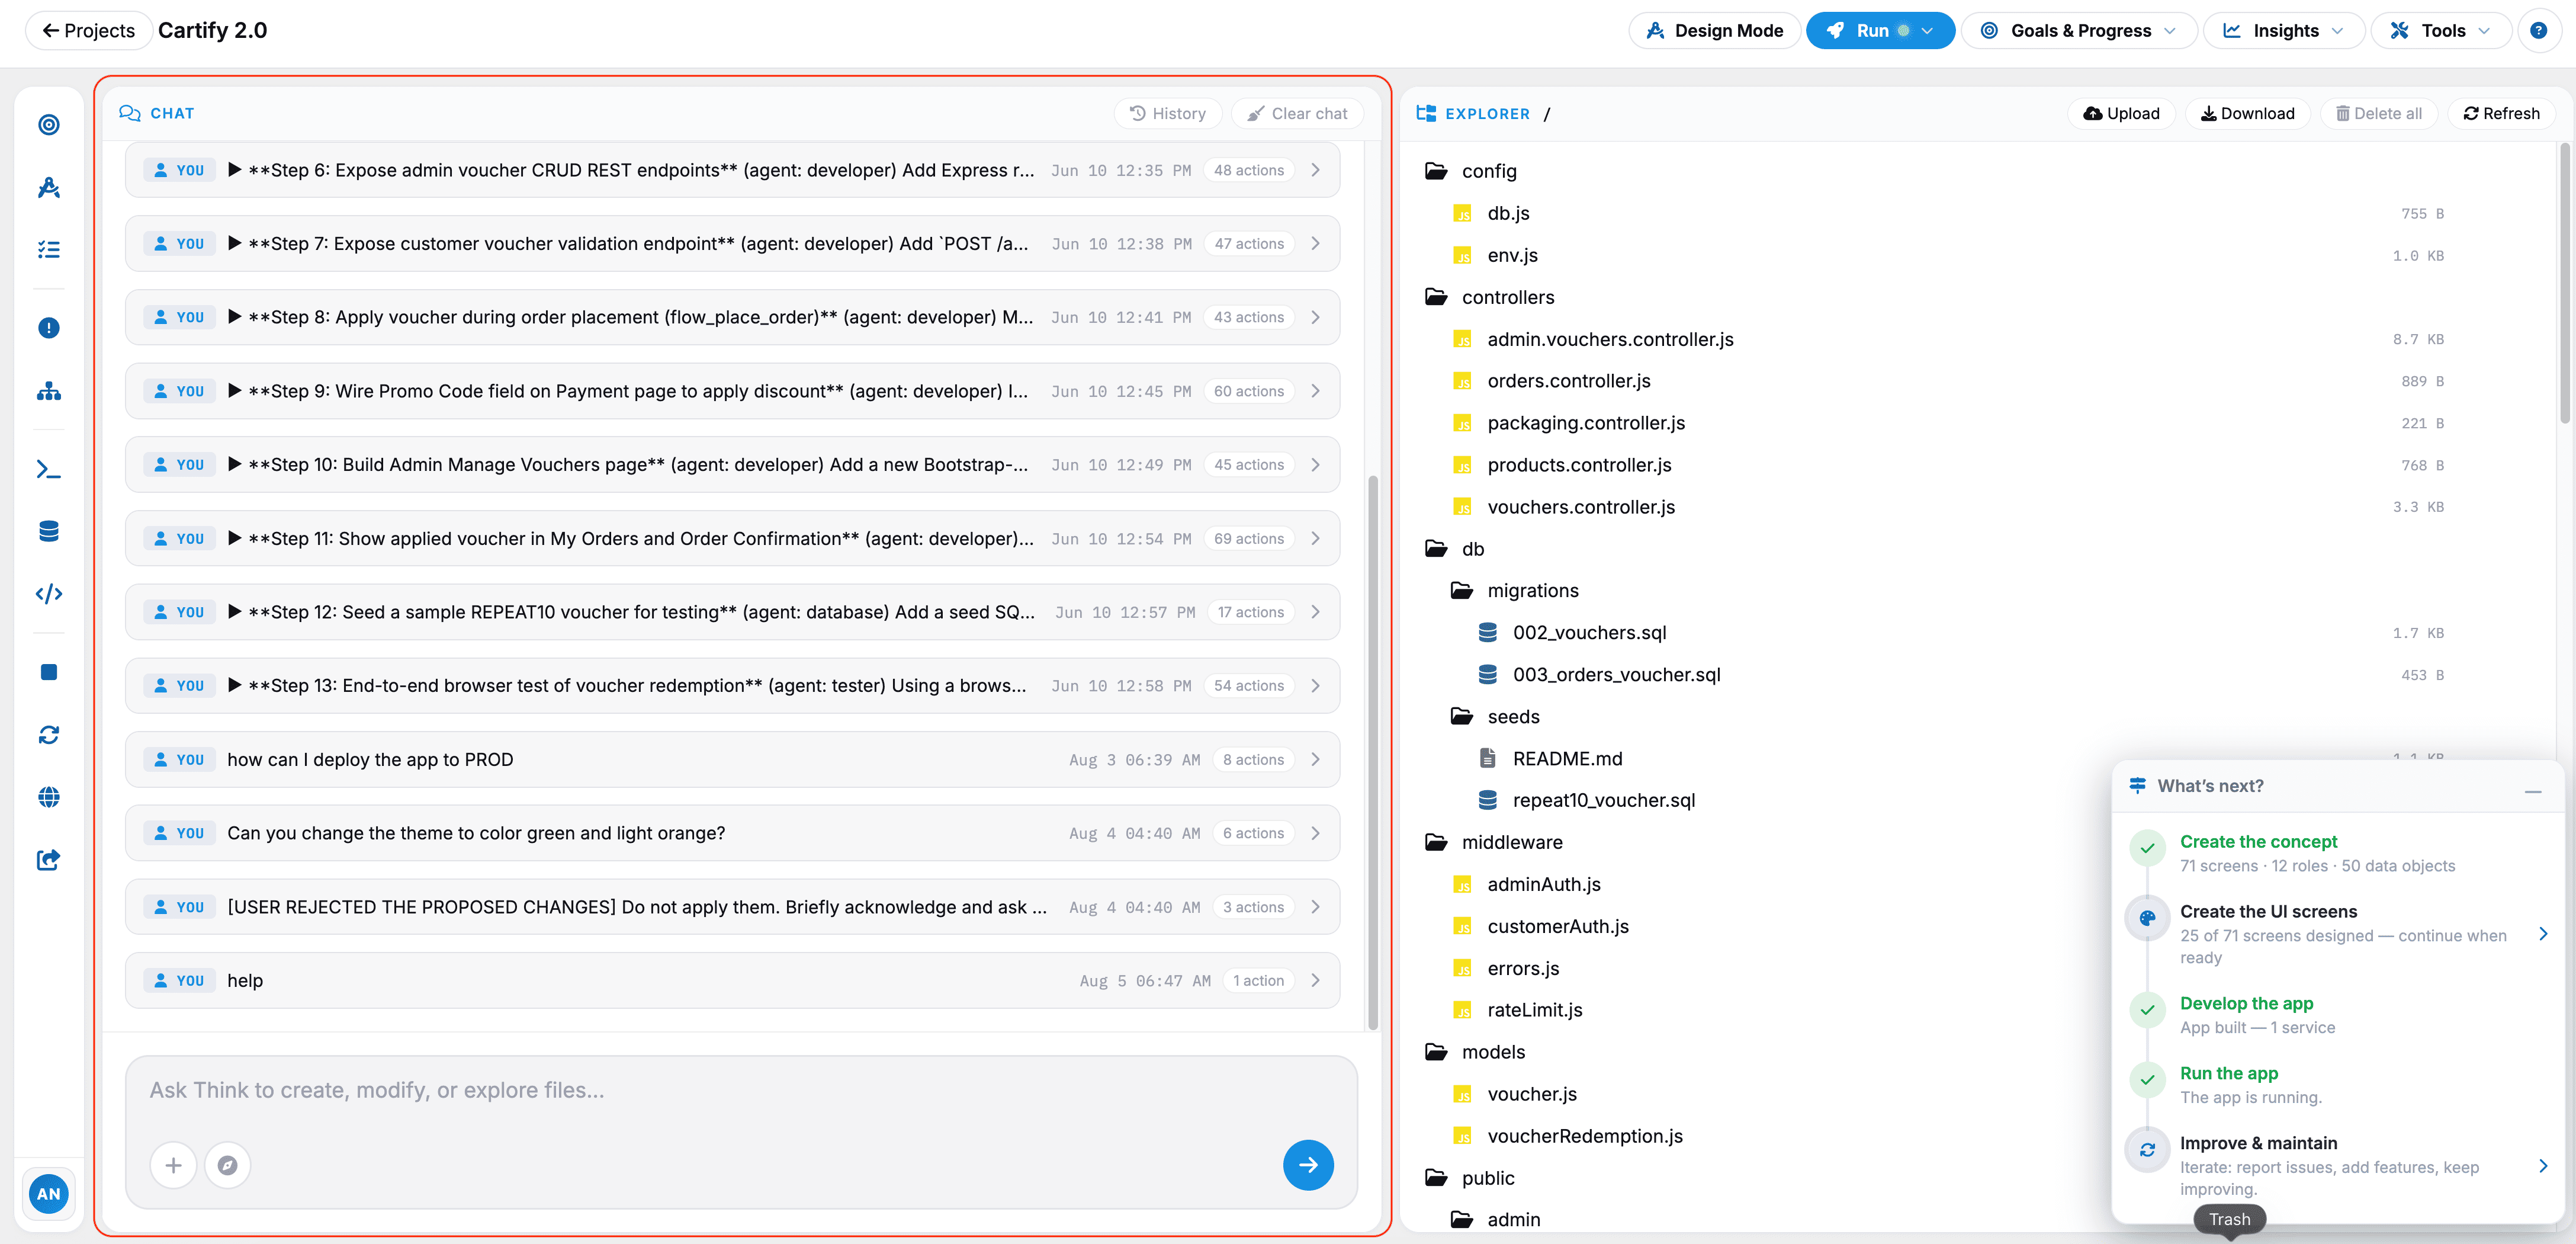
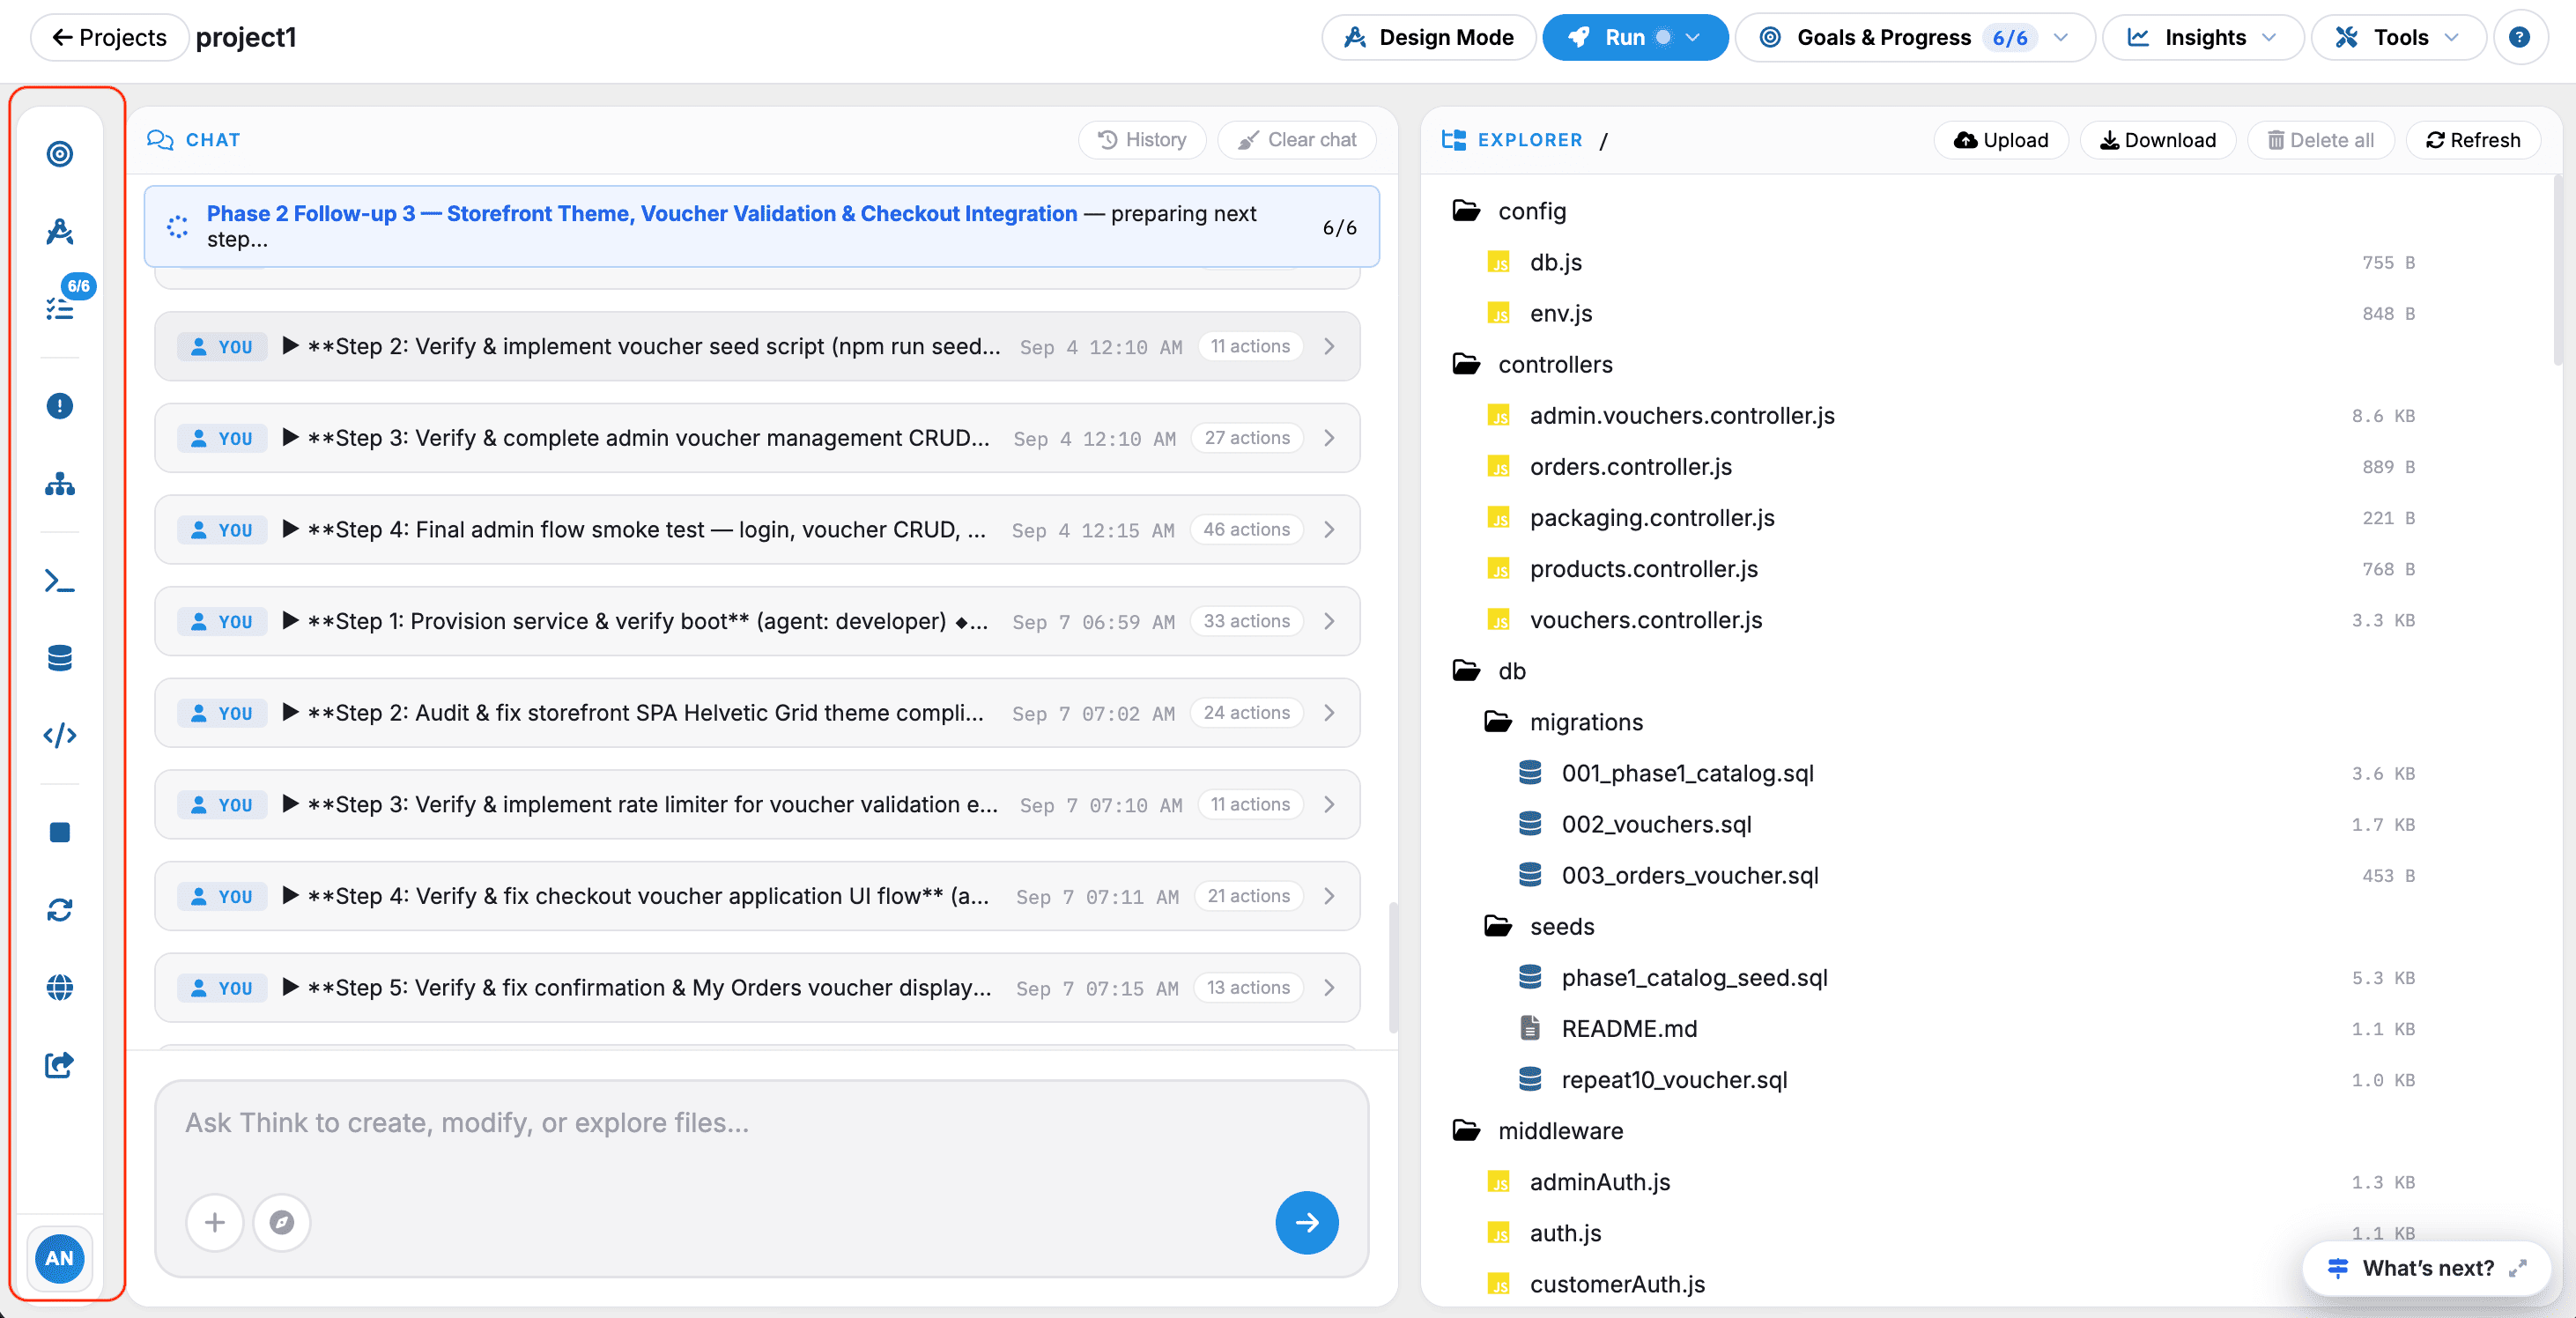
Prompt & Interactive Chat Panel (Left Bar)
An active sidebar for issuing direct natural-language prompts to modify system requirements, trigger code rebuilds, or request architectural adjustments in real time.
 Click to enlarge
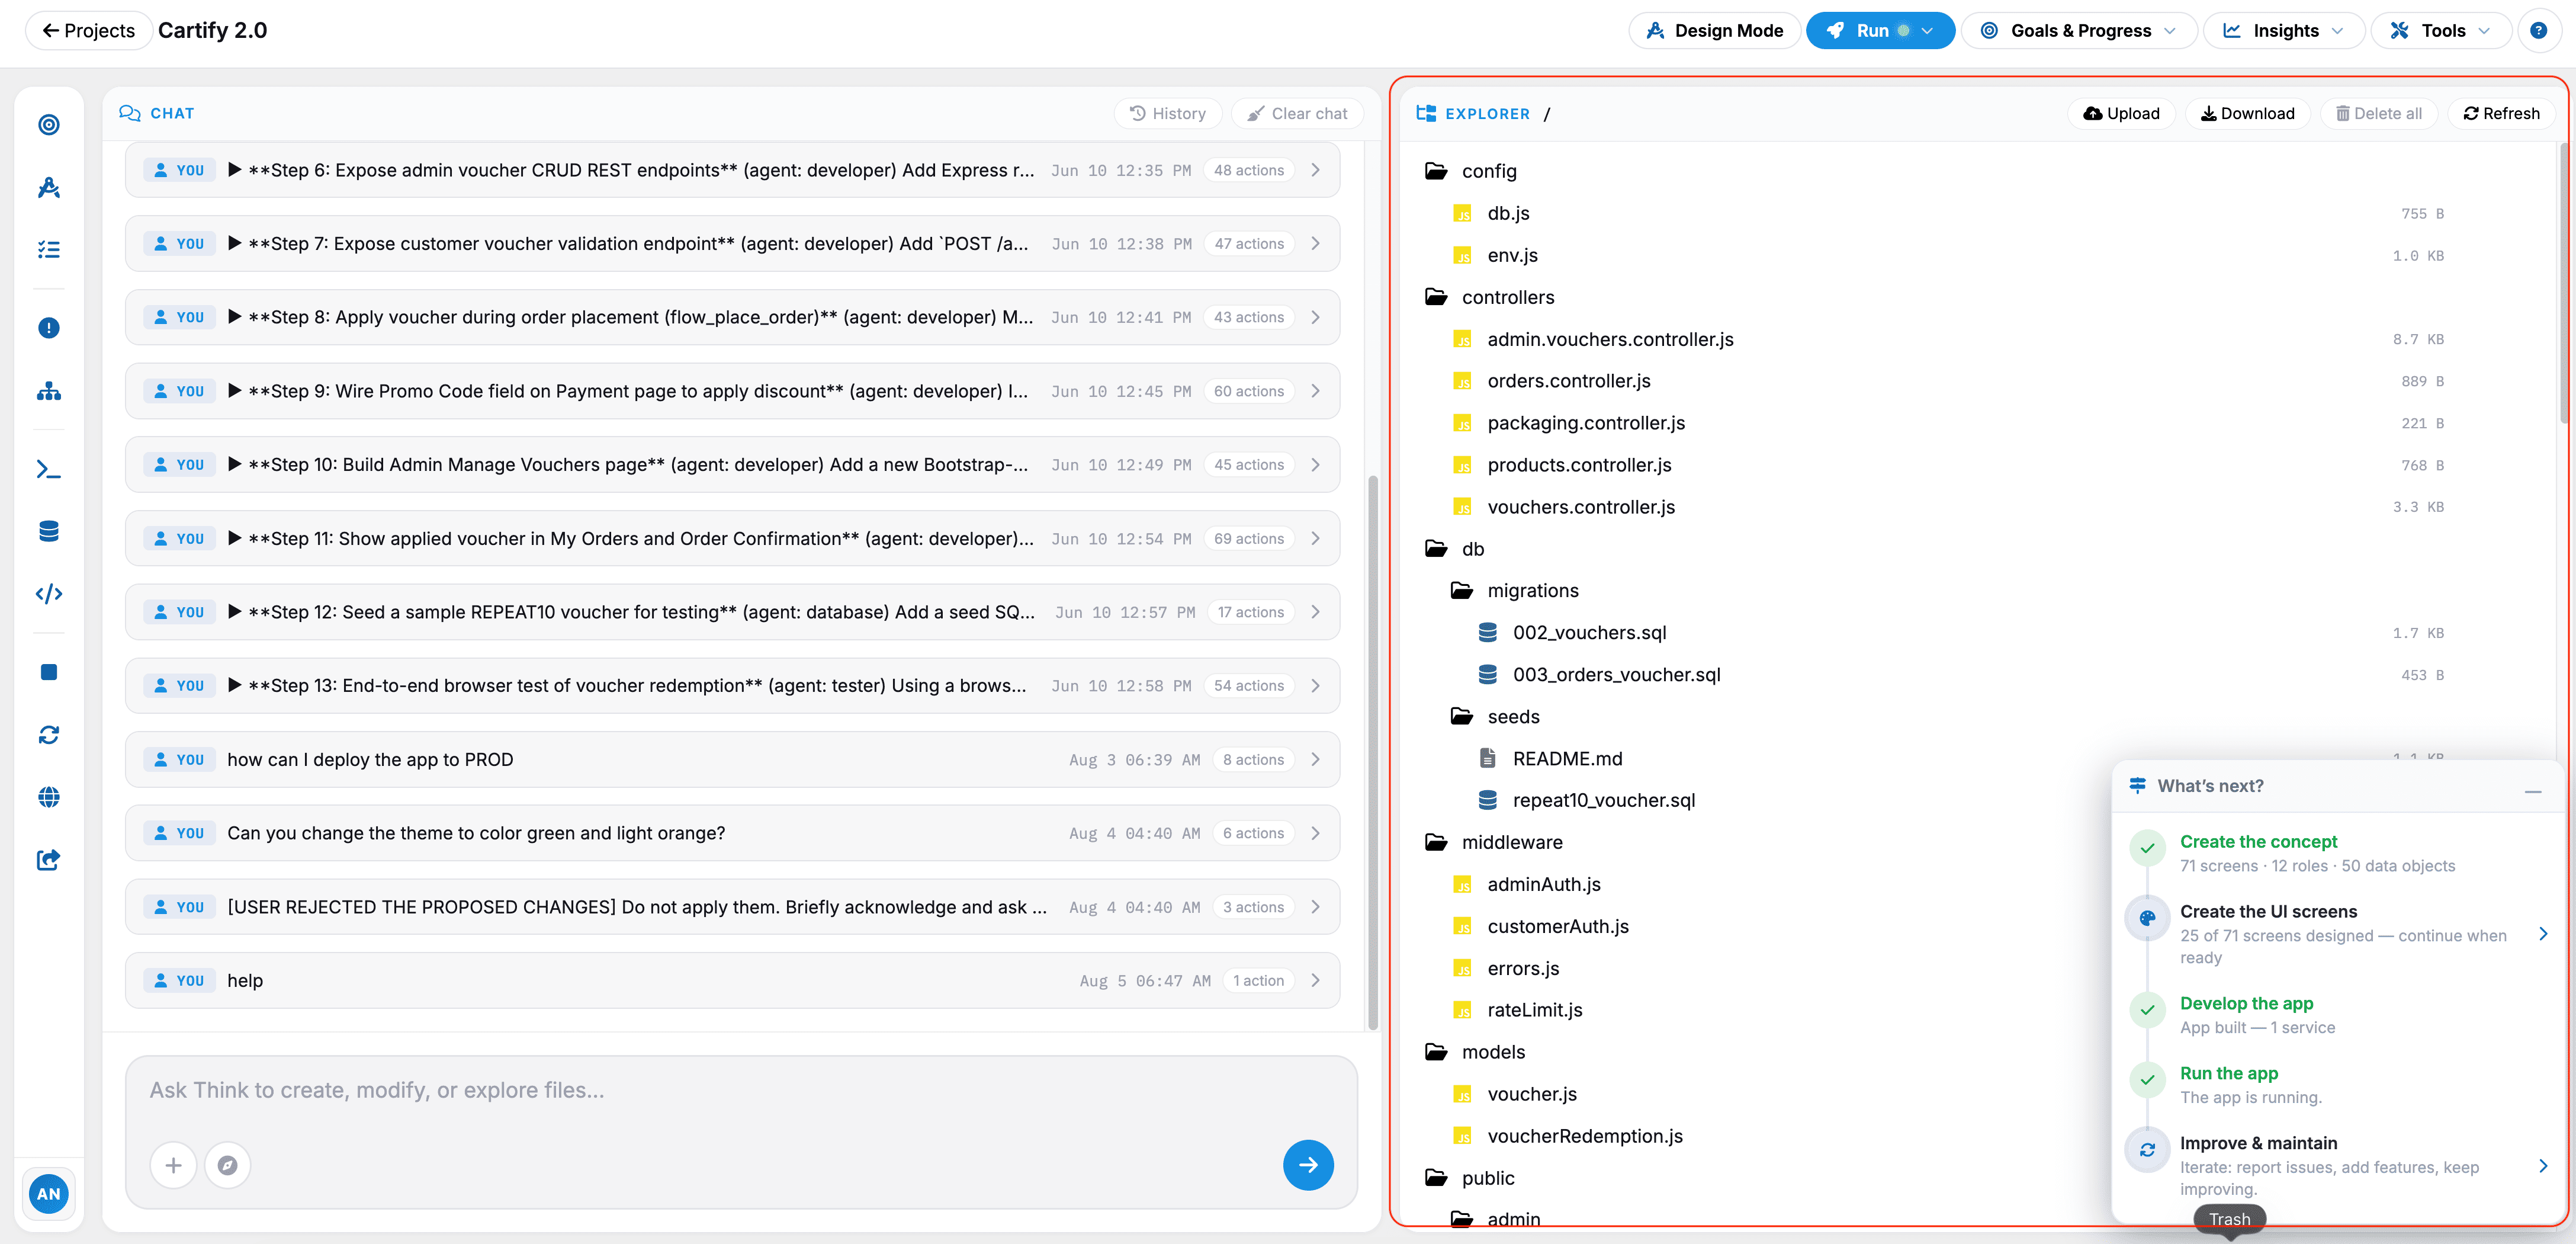
File Explorer & Component Tree
A tree-view navigation panel that displays all project-generated assets, source files, and database schemas for quick selection and focus.
 Click to enlarge
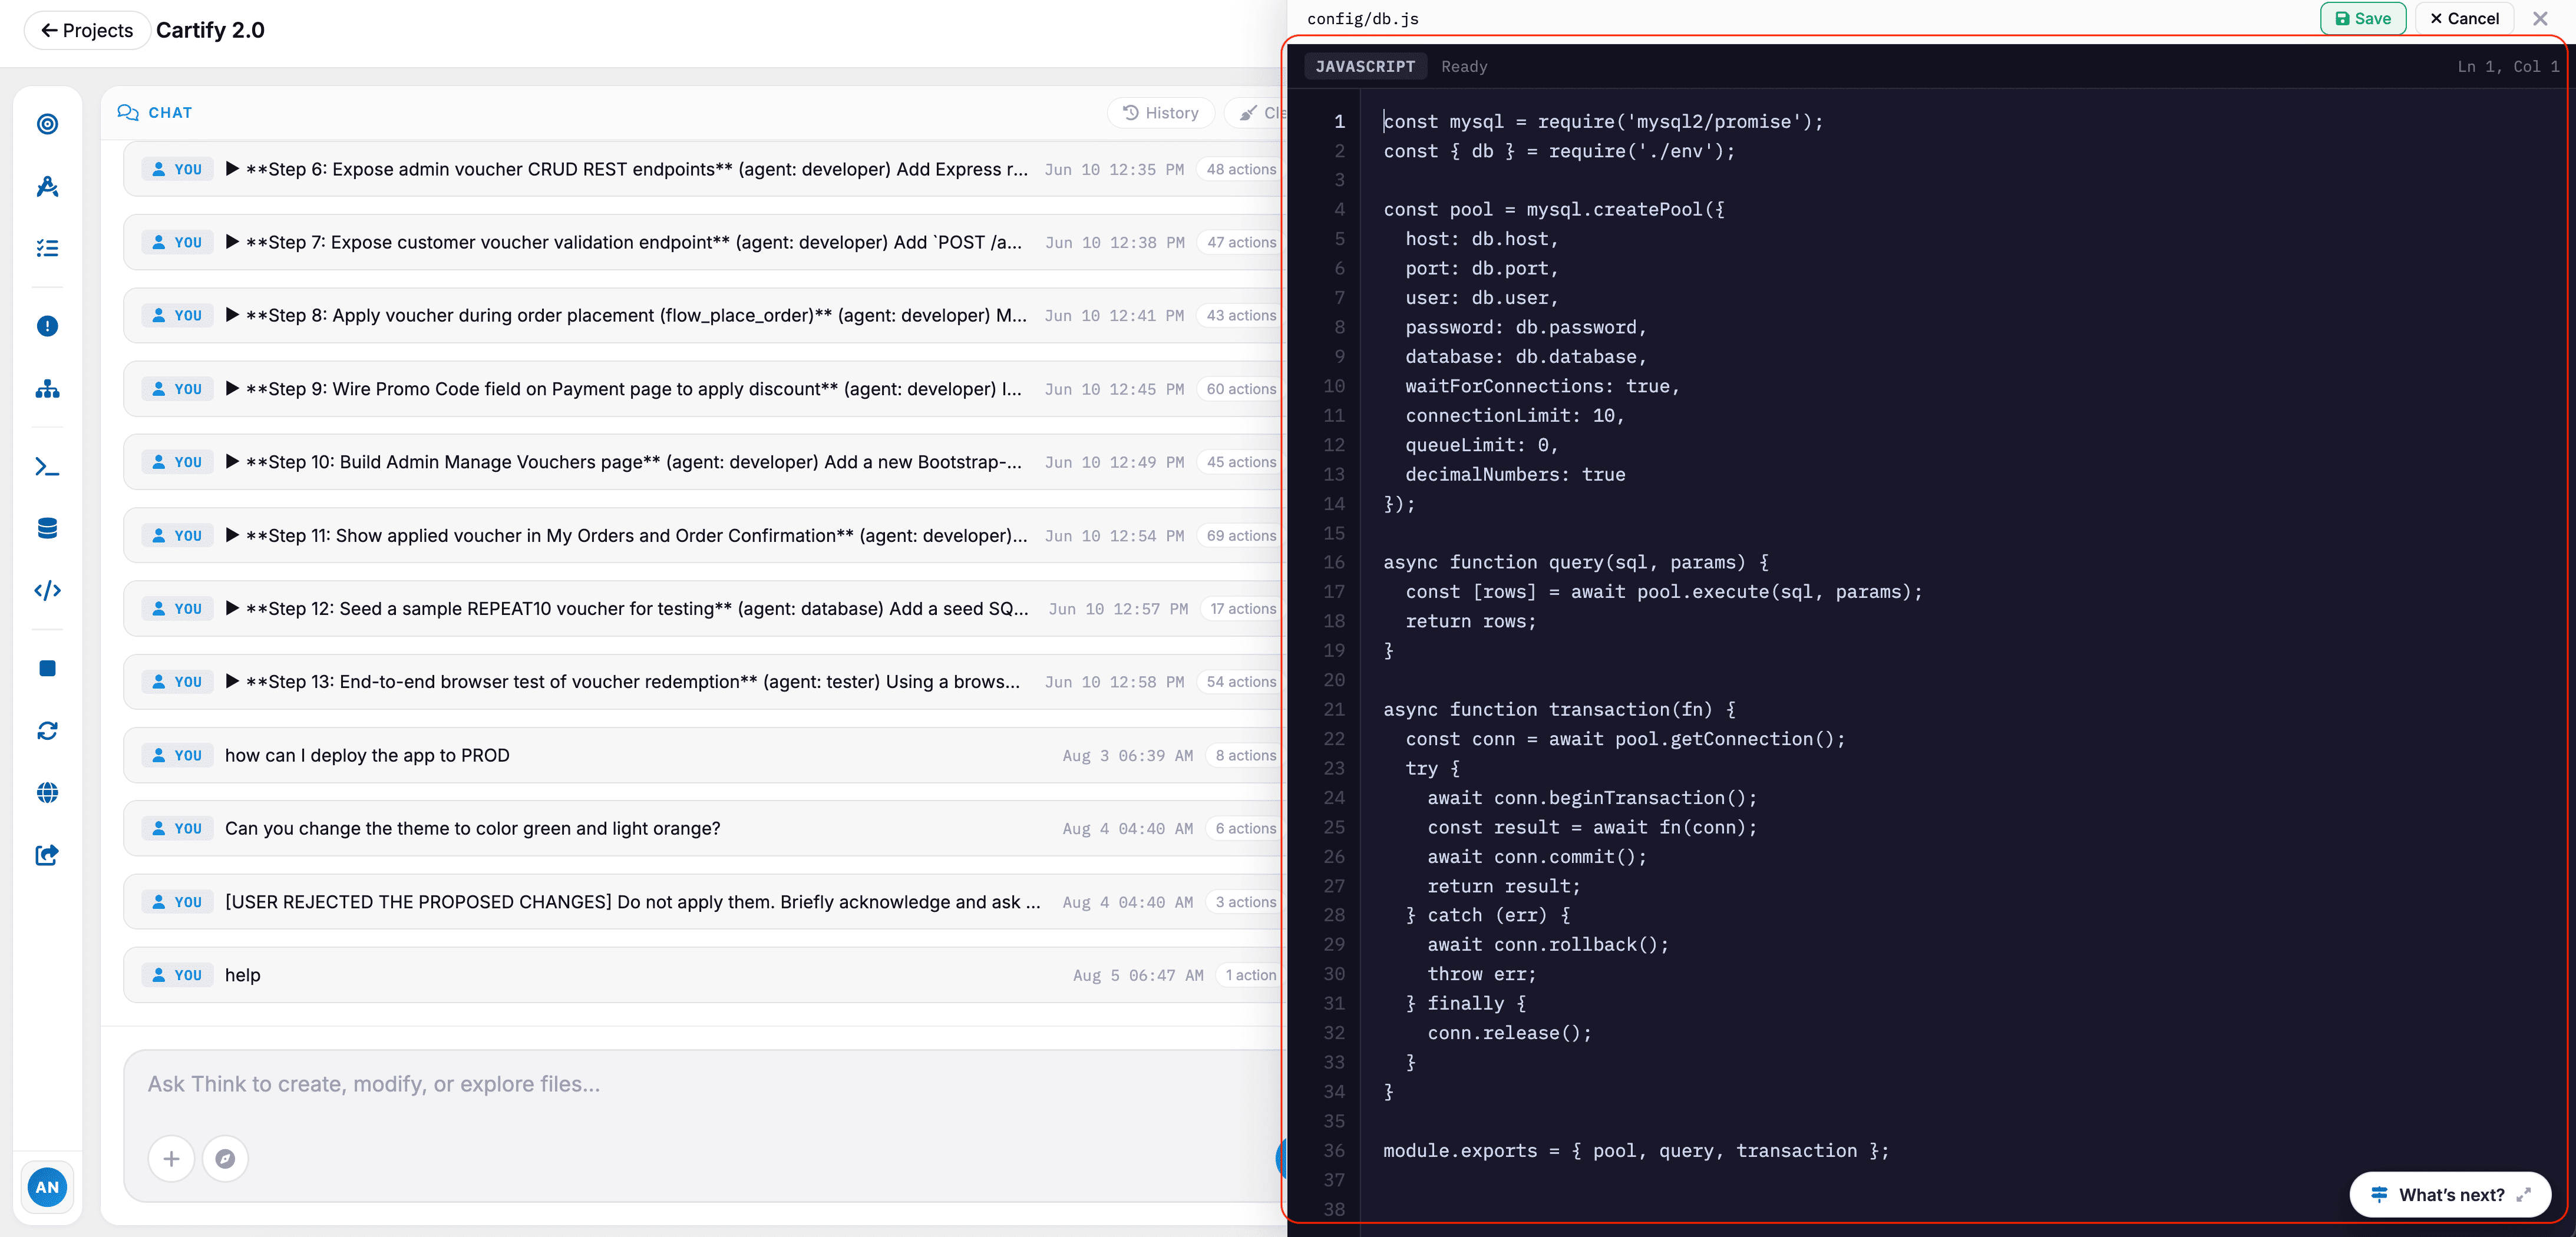
Central Code & Schema Viewer
Replaces standard visual canvases with syntax-highlighted code blocks, raw JSON/YAML payloads, and technical specification views.
 Click to enlarge
Dev Mode Toolbar & Control Options#
 Click to enlarge
- Code Export & Sync buttons: Buttons to quickly copy, download, or sync generated code blocks and technical specifications directly to connected repositories (e.g., GitHub, GitLab).
- Sidebar Tools: Actions to validate schema constraints, re-run agent architectural checks, or trigger a complete system rebuild based on modified prompt parameters.
 Click to enlarge
What’s next?#
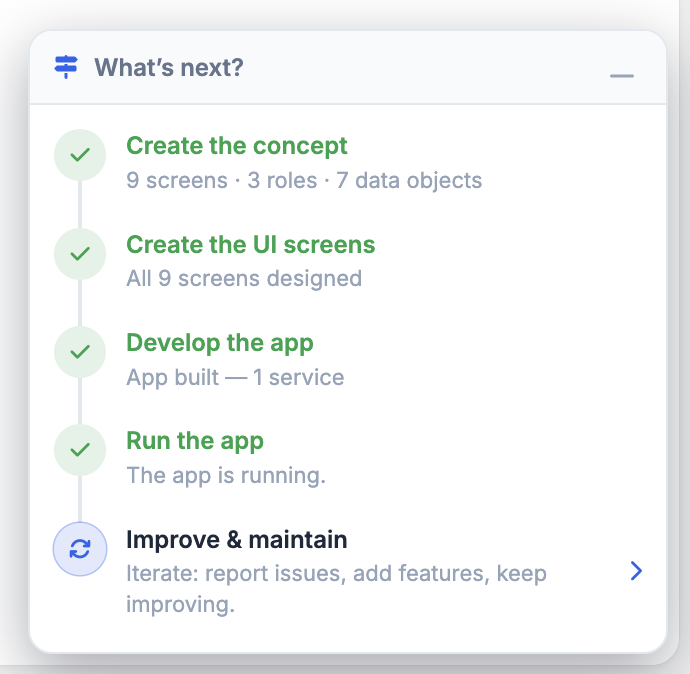
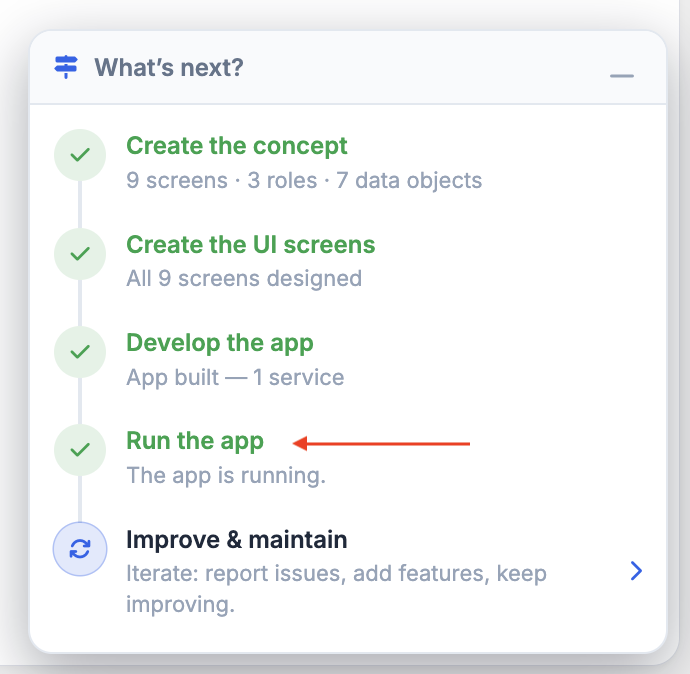
The What's next? panel tracks the end-to-end lifecycle of your application development process. Below is the user manual description for each phase:
 Click to enlarge
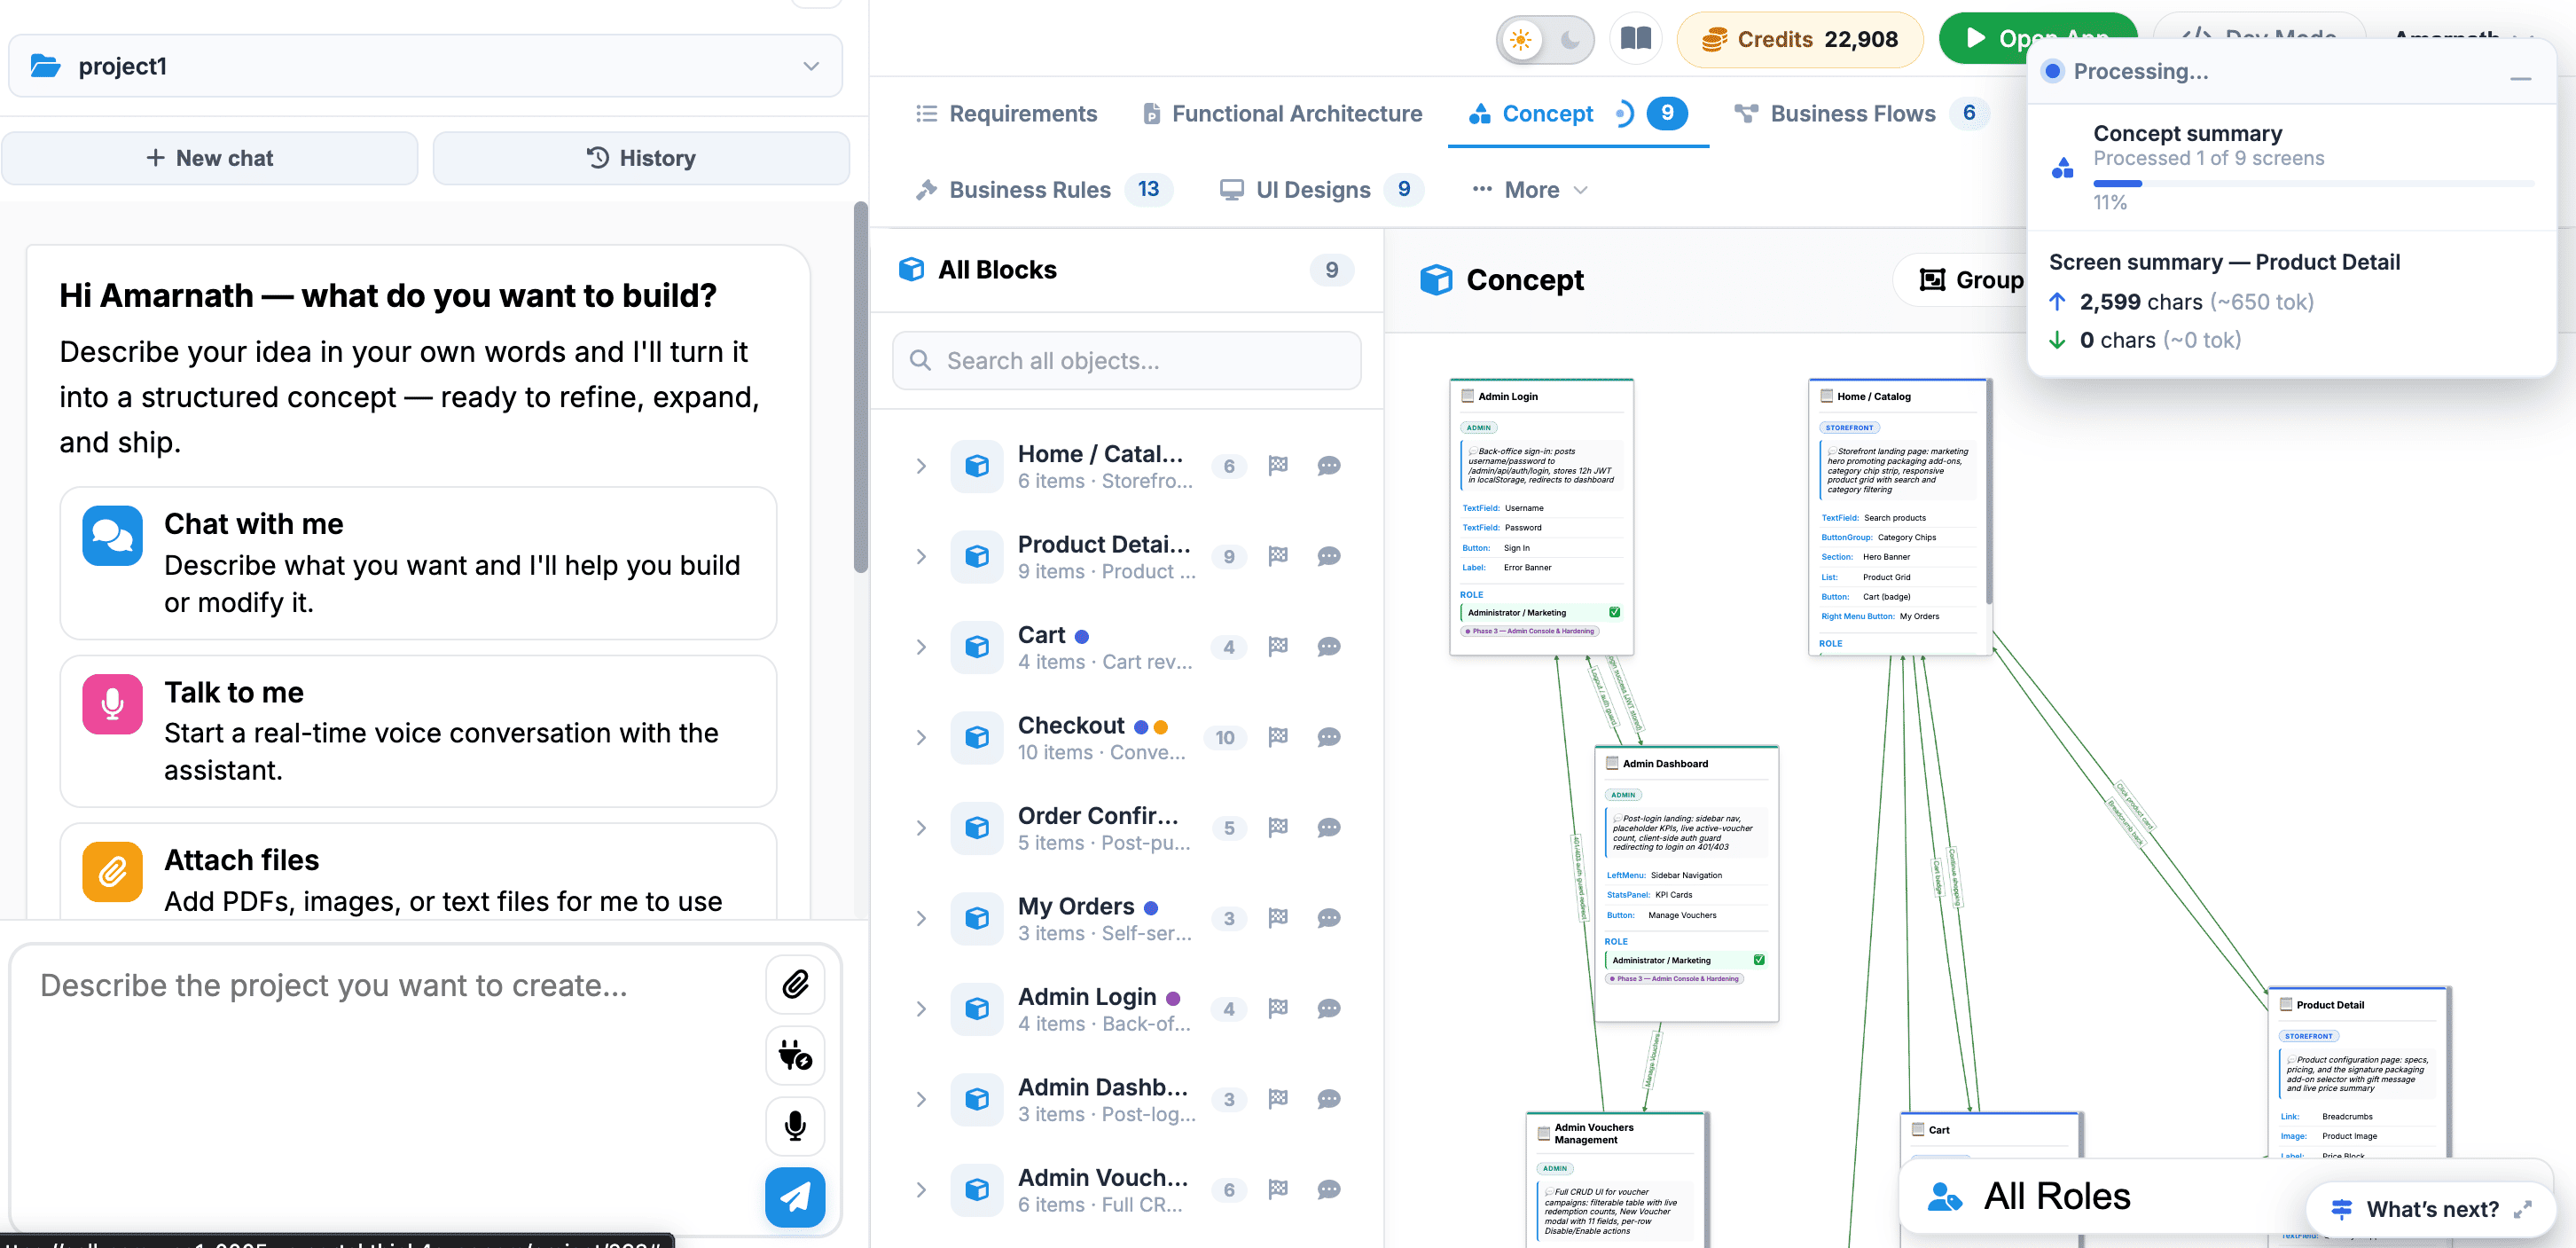
1. Create the Concept:
Phase 1: Planning & System Design.
 Click to enlarge
This phase establishes the foundational blueprint and architecture of the software project before any design or code is written.
- Requirements Gathering: Map out every intended workflow to determine the exact number of screens required to deliver a complete user experience.
- Role-Based Access Control (RBAC): Define the permissions, data access levels, and functional boundaries for each distinct user role in the system.
- Data Modeling: Structure the backend entity schemas, establishing key relationships, field types, and validation rules across all data objects.
- Verification: Validate that the conceptual architecture accounts for all functional requirements, security boundaries, and data dependencies before moving to interface design.
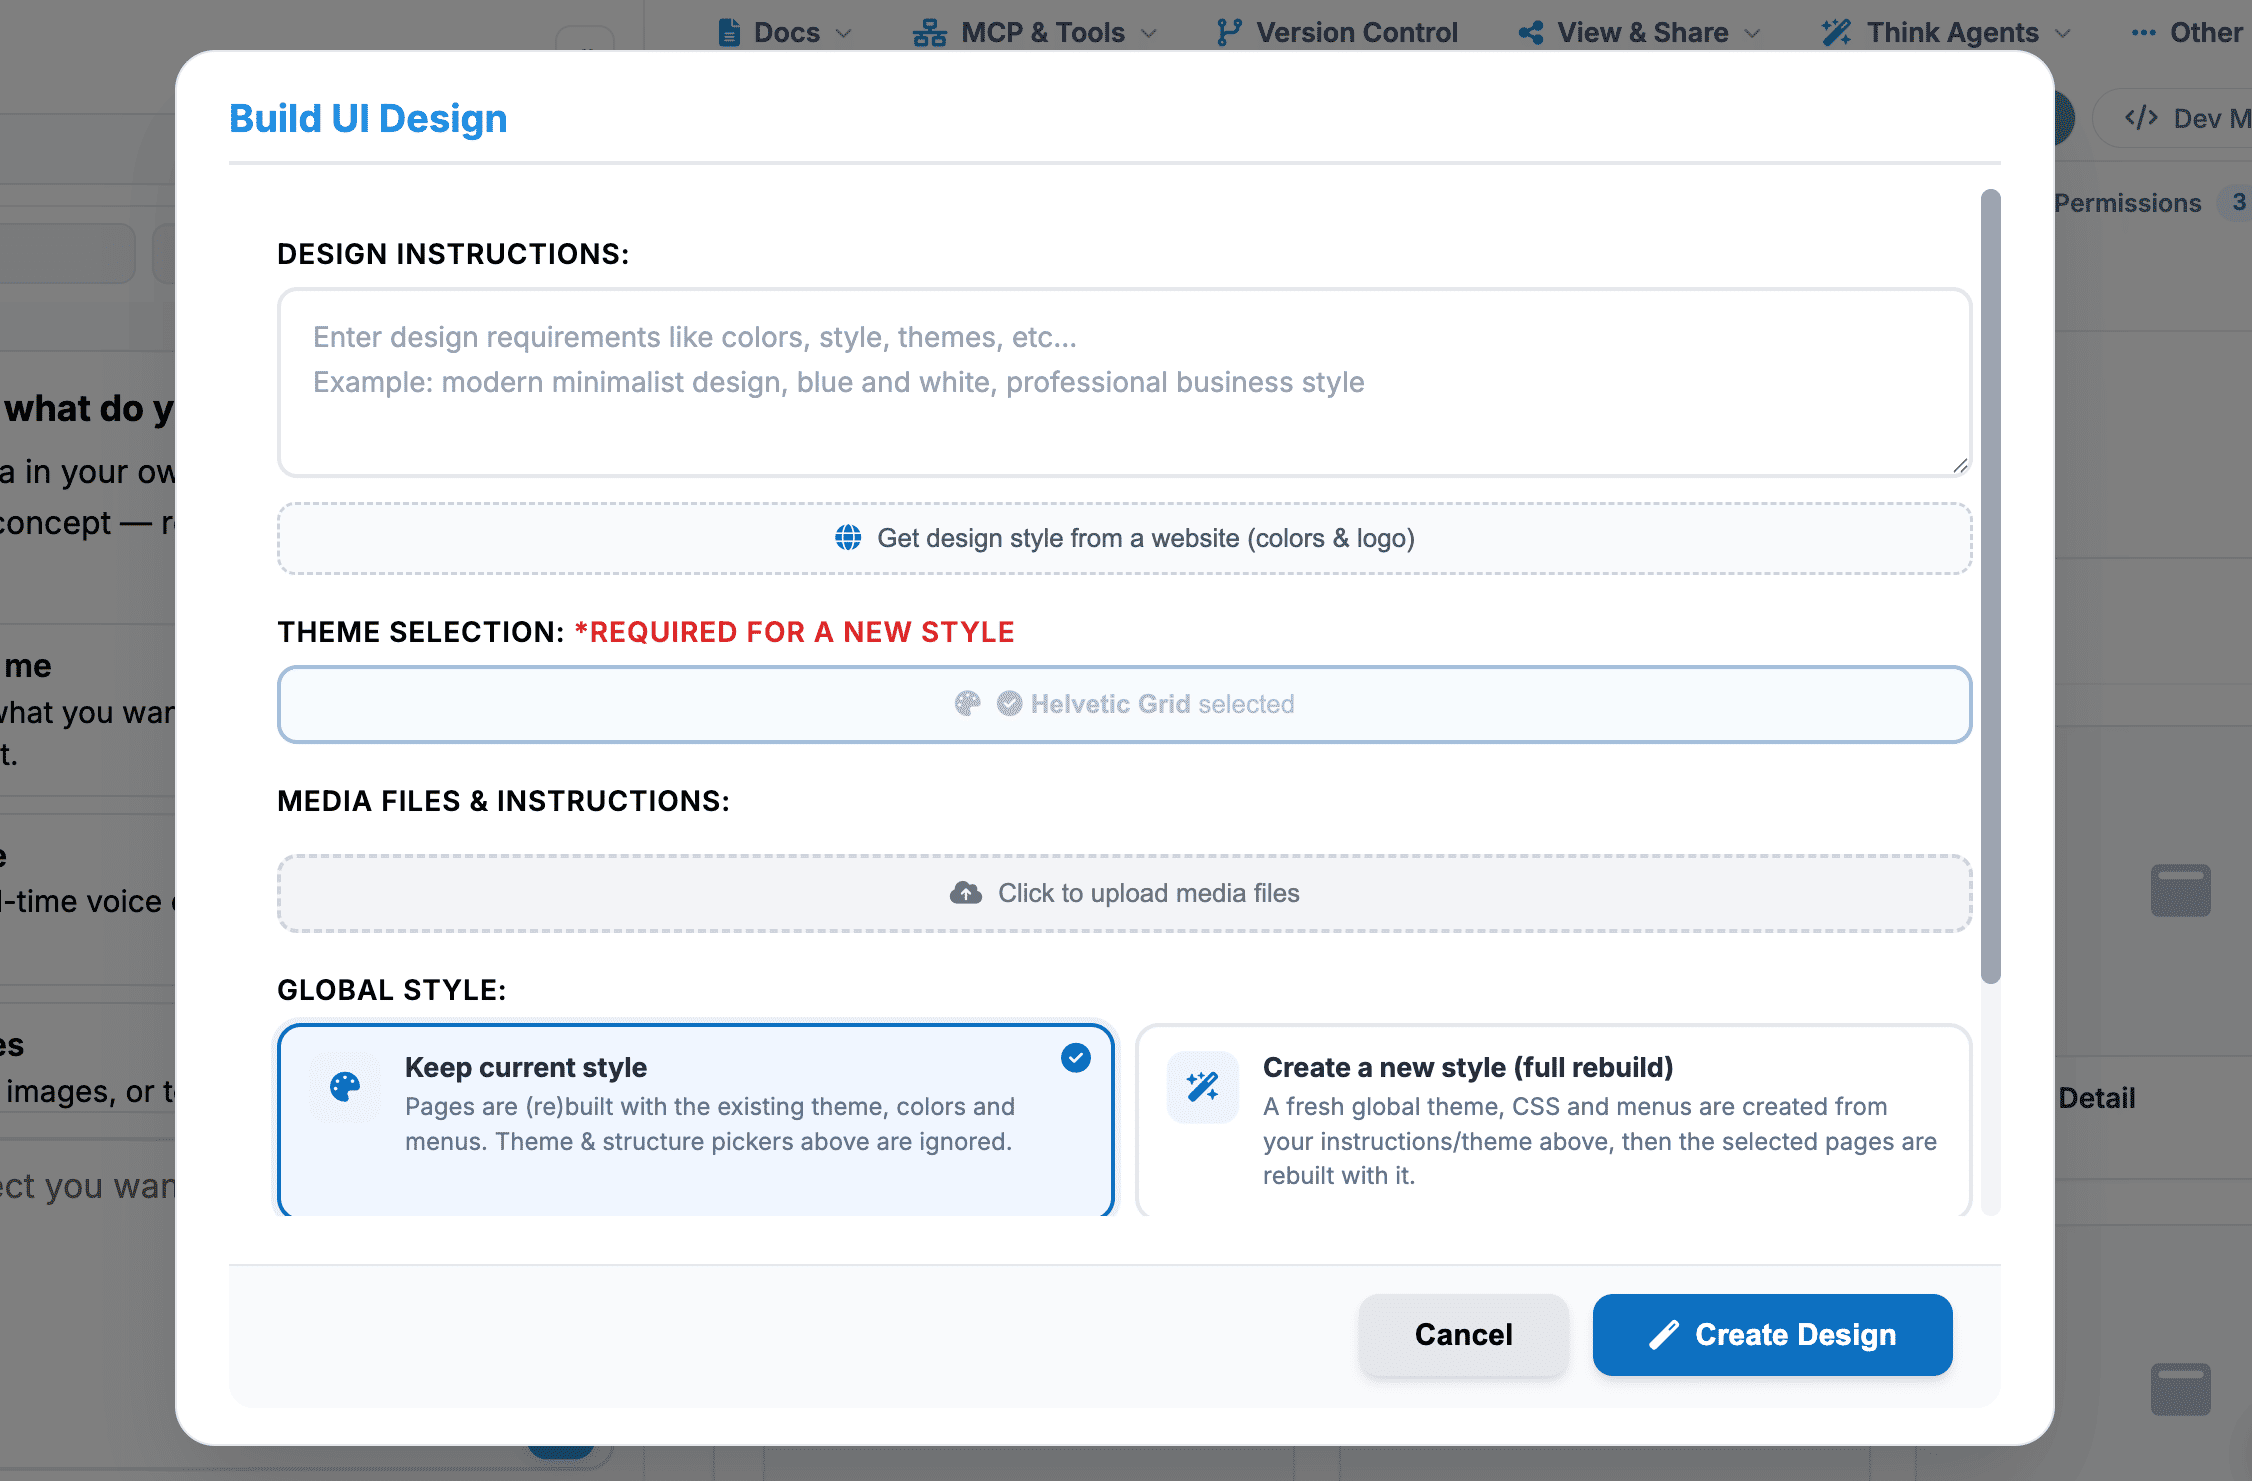
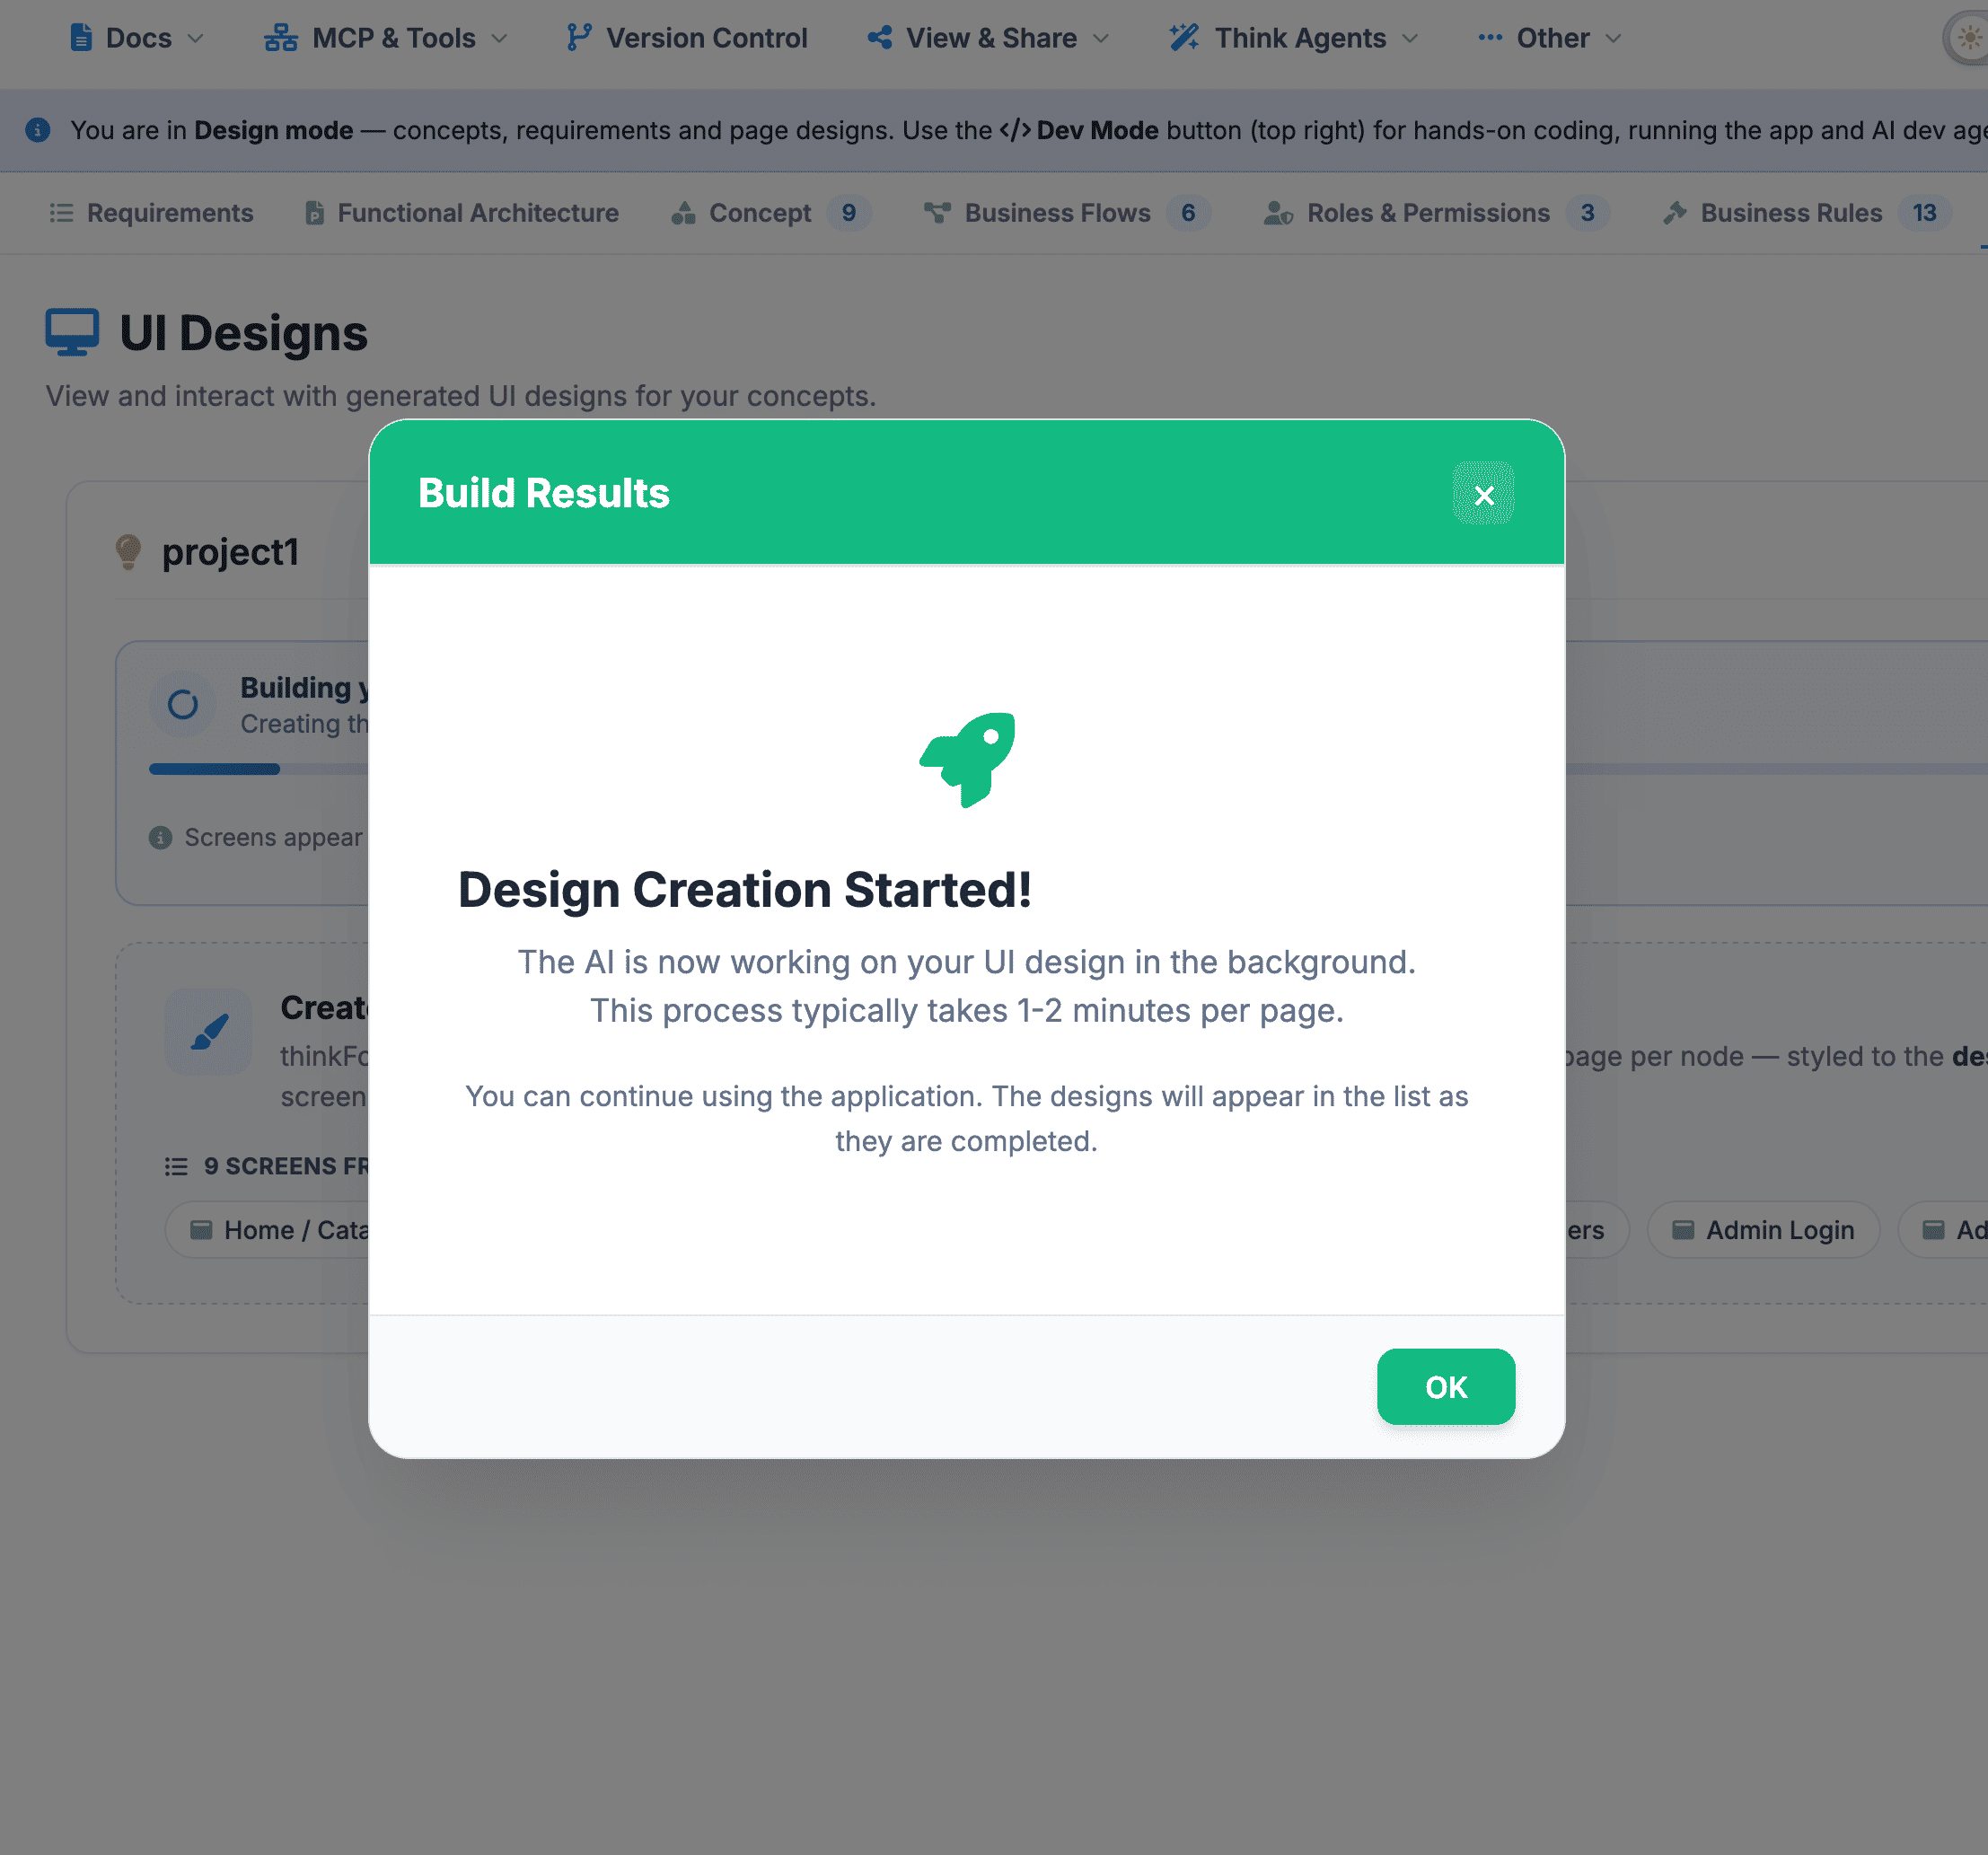
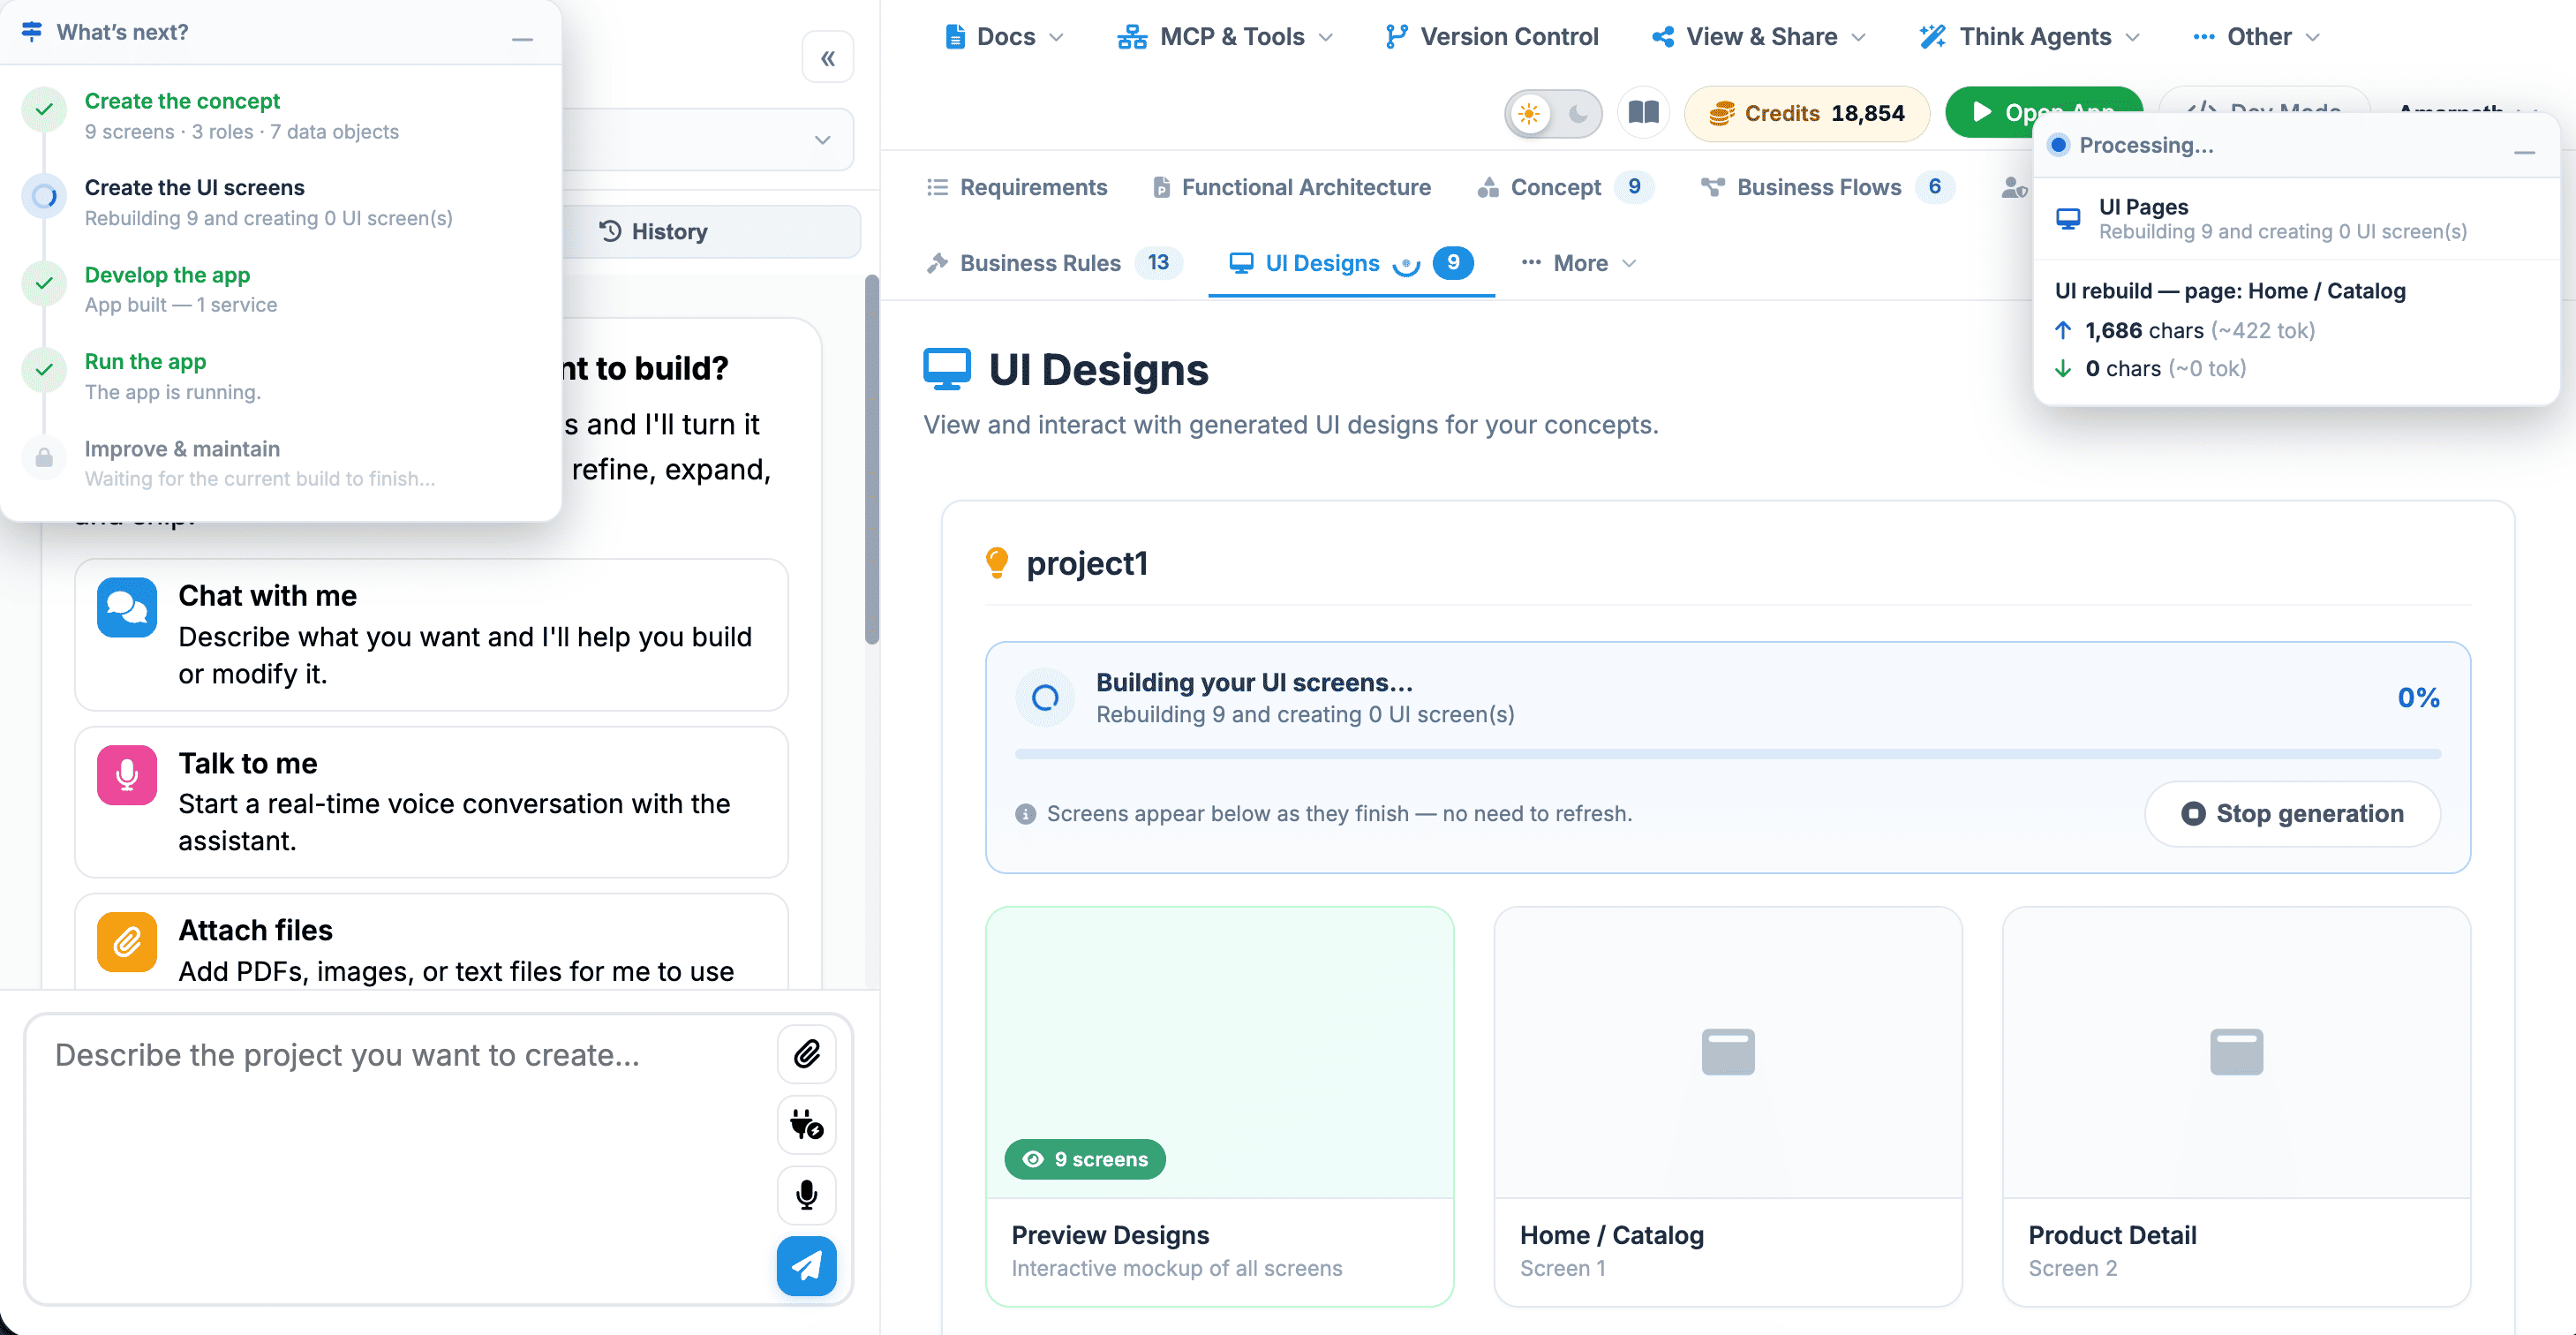
2. Create the UI Screens:
Phase 2: User Interface & Experience Design.
 Click to enlarge
This phase translates conceptual workflows into visual, interactive layouts and component interfaces.
-
Wireframing & Visual Design: Design responsive layouts, navigation menus, input forms, and data display components for every screen in the system.
-
State Design: Create visual states for each component, including default, active, loading, disabled, and error handling states.
-
Design System Alignment: Ensure consistent application of typography, spacing, color themes, and interactive patterns across all user touchpoints.
-
Verification: Review each finished screen against the concept specifications to confirm that all required data objects and role permissions are properly represented visually.
 Click to enlarge
 Click to enlarge
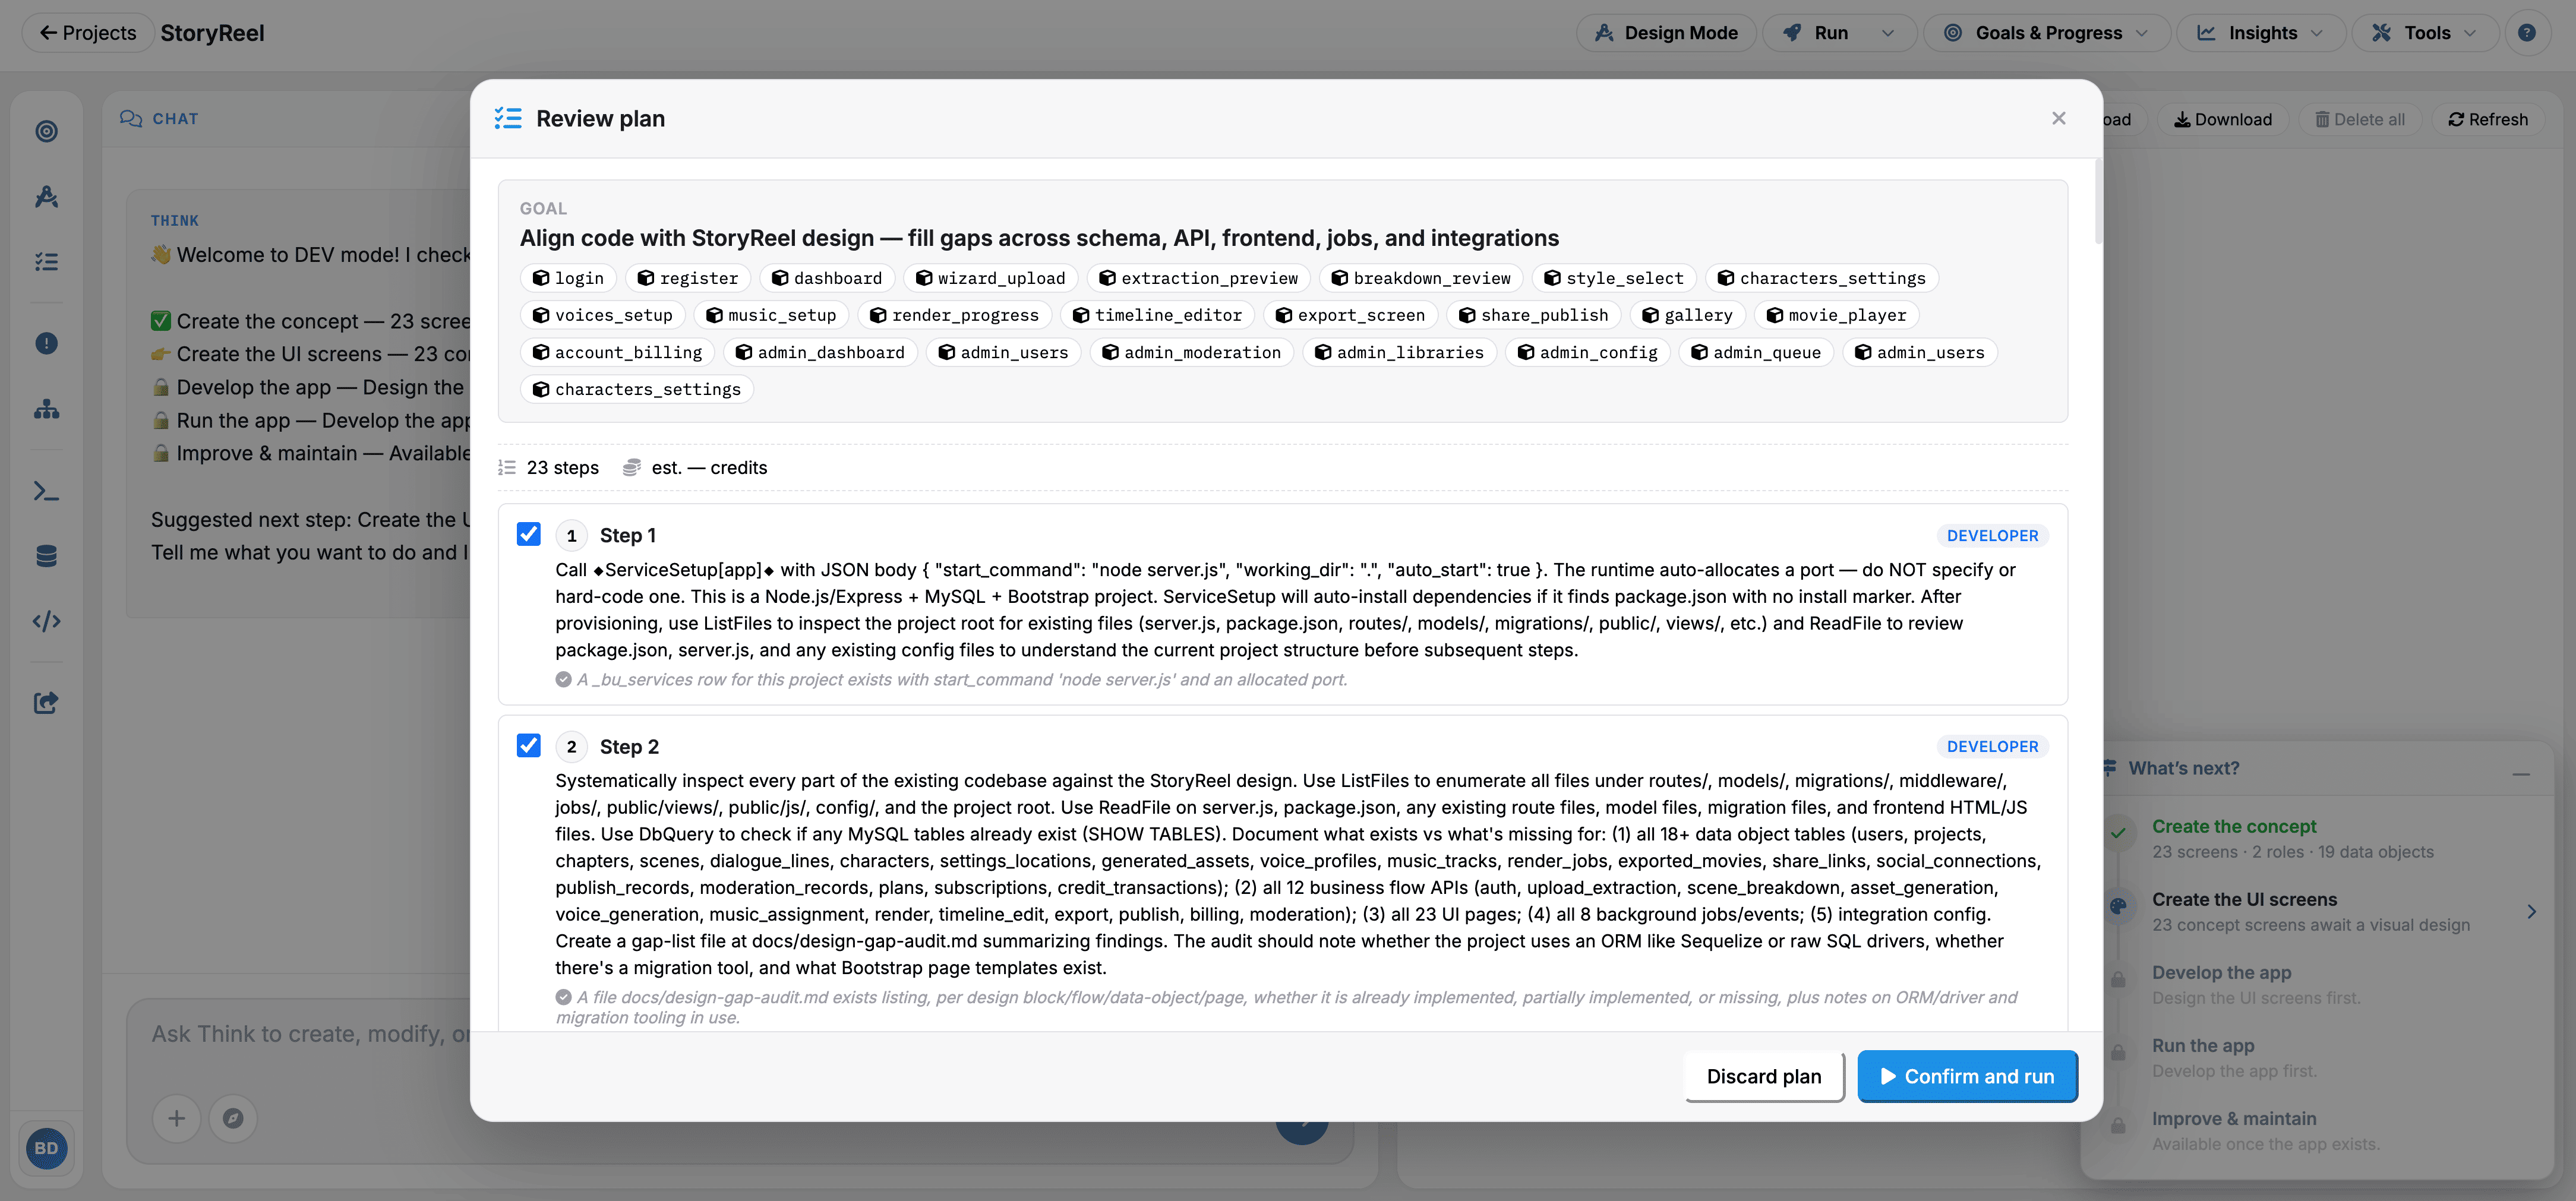
3. Develop the App:
Phase 3: Backend & Integration Engineering.
This phase transforms high-level designs and structural models into functional, executable software.
 Click to enlarge
- Service Architecture: Construct the core microservices or monolith backends responsible for processing business logic, handling API endpoints, and orchestrating server events.
- Database Provisioning: Deploy database instances and execute migration scripts to instantiate the tables, indexes, and relationships defined in the concept stage.
- Integration & Security: Connect front-end interfaces to API services, implement token-based authentication, and configure data encryption protocols.
- Verification: Execute unit and integration test suites to confirm that services return correct responses, process transactions cleanly, and fail gracefully under error conditions.
4. Run the App:
Phase 4: Deployment & Infrastructure Hosting.
 Click to enlarge
This phase builds, packages, and deploys the application into a live runtime host environment.
- Build & Compilation: Compile source code, bundle static assets, and run containerization procedures to produce production-ready build packages.
- Infrastructure Configuration: Set up hosting servers, load balancers, domain routings, SSL/TLS security certificates, and environment variables.
- Execution & Health Monitoring: Launch application runtime instances and initiate automated health-check probes to track memory, CPU utilization, and uptime.
- Verification: Access the live application URL to verify HTTP 200 responses, socket connectivity, and real-time database communication.
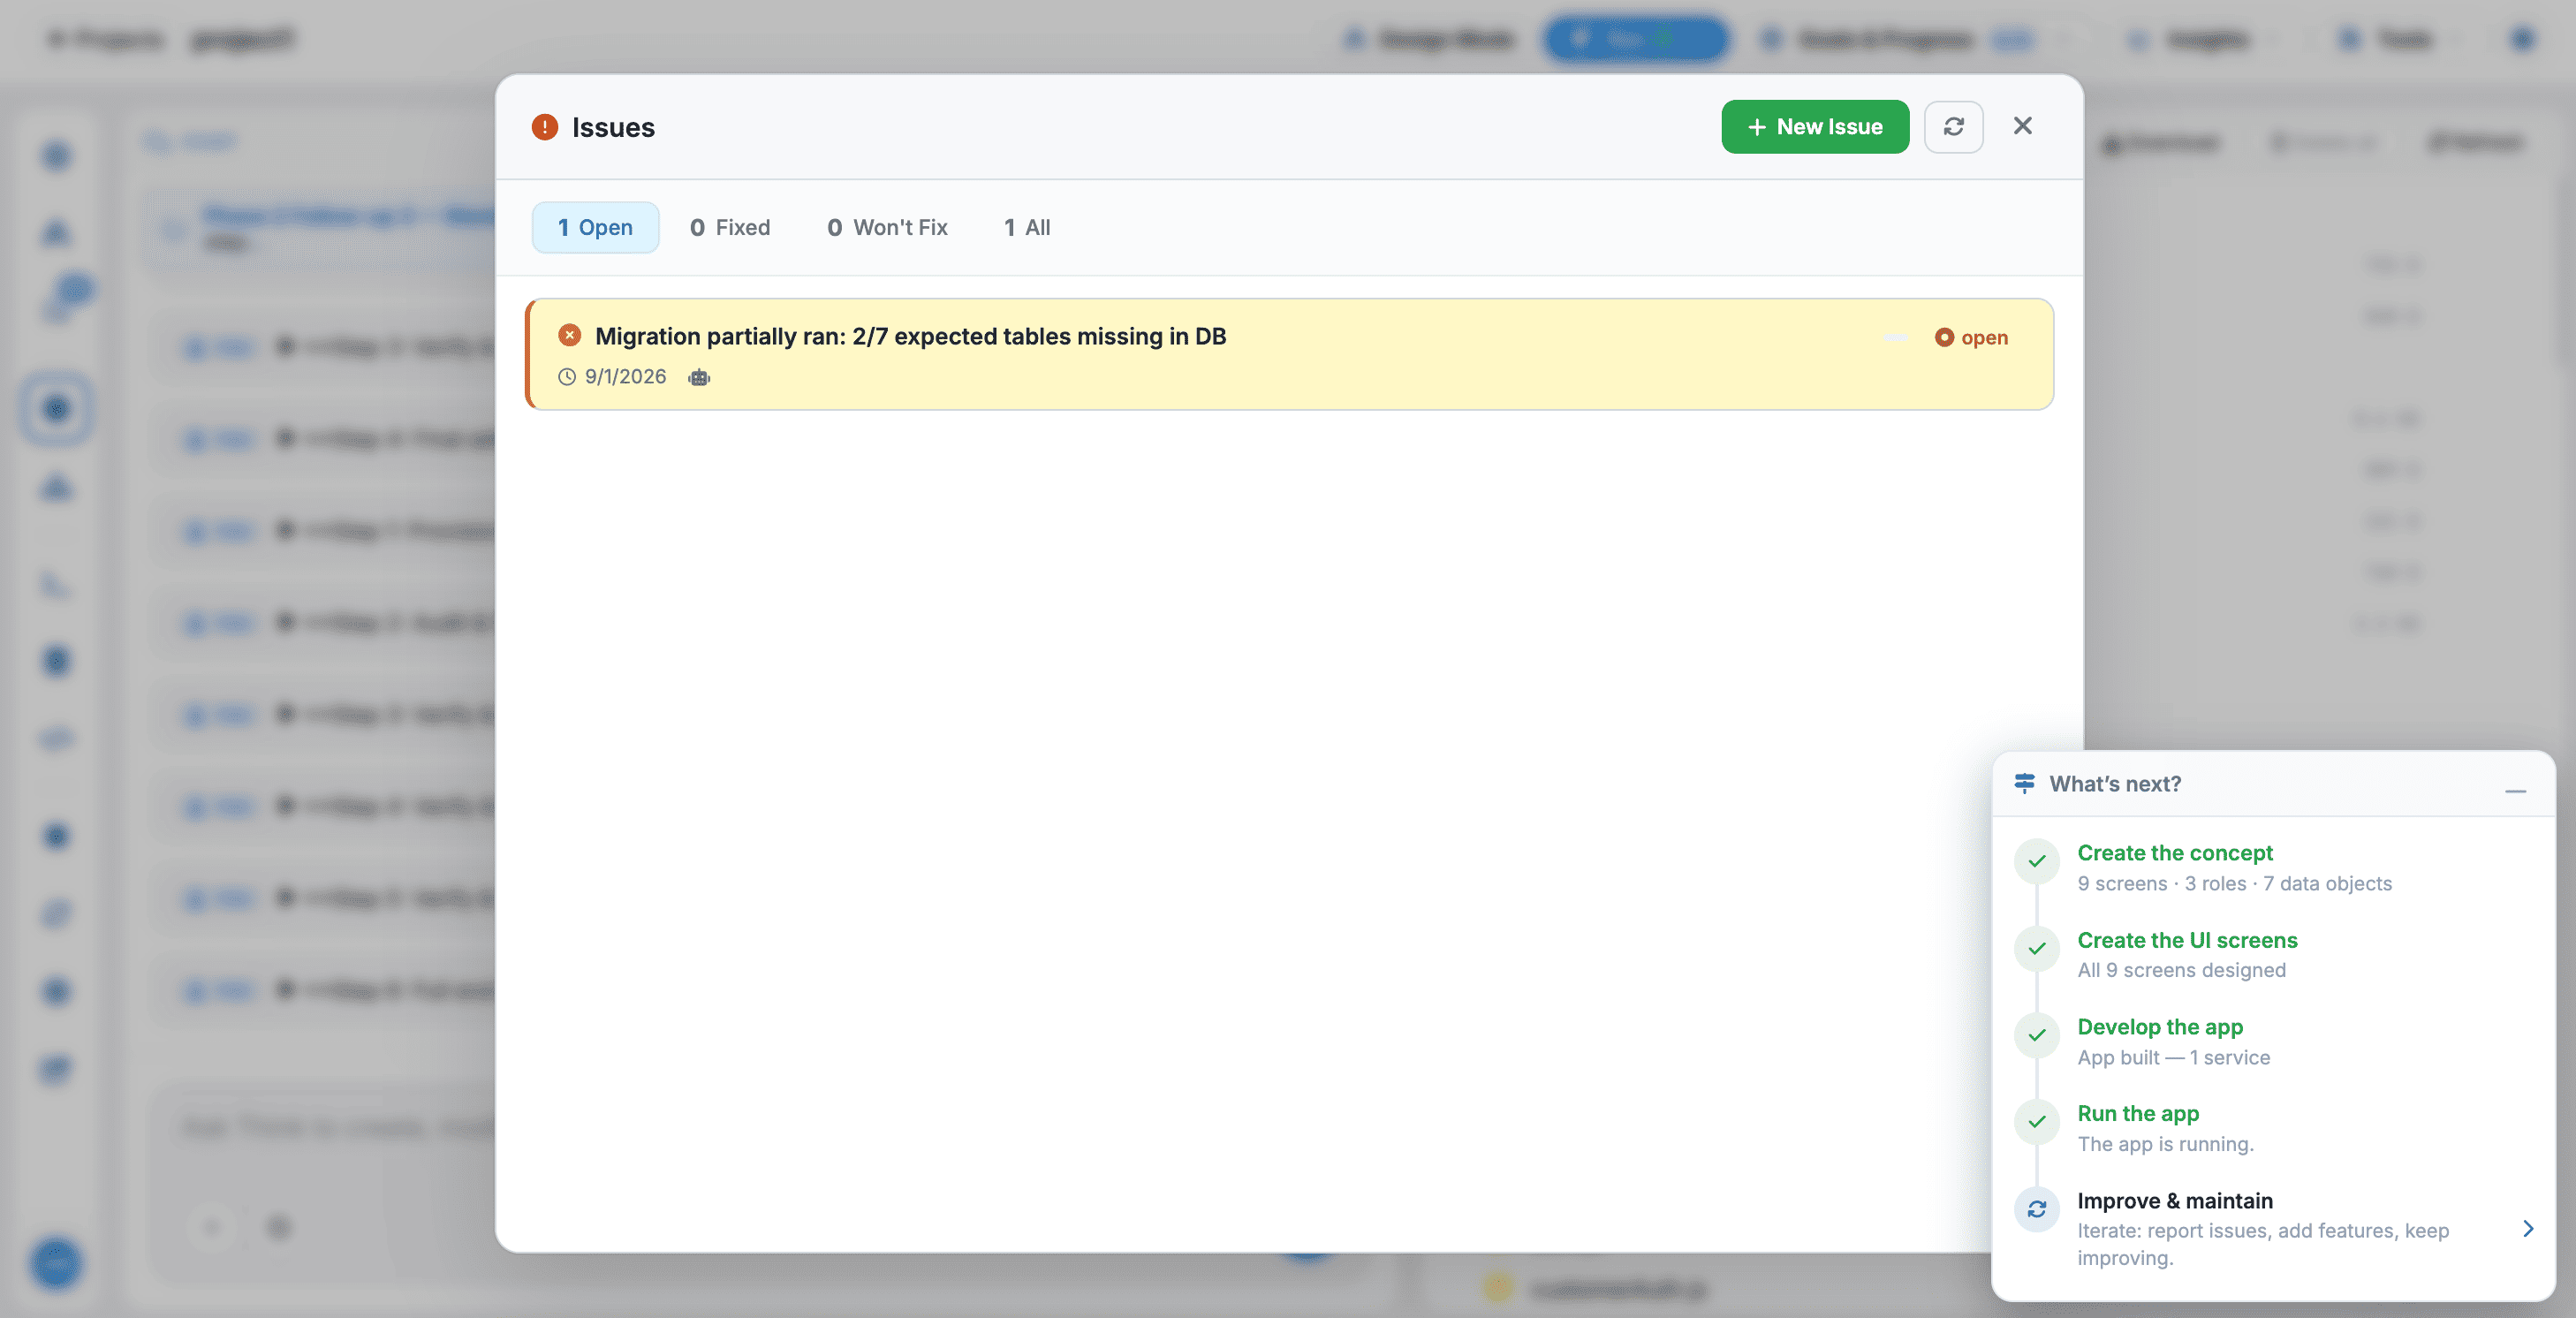
5. Improve & Maintain:
Phase 5: Post-Launch Operations & Iteration.
 Click to enlarge
This phase handles the ongoing operation, continuous integration, and long-term enhancement of the application.
- Incident Management: Collect user feedback, aggregate crash reports, and trace runtime errors to isolate root causes and issue hotfixes.
- Feature Iteration: Plan, scope, and implement new feature requests or performance optimizations based on analytics and shifting user demands.
- System Maintenance: Apply dependency security updates, optimize database queries, scale infrastructure capacity, and maintain compatibility across platform updates.
- Verification: Confirm bug resolution via regression testing and verify that deployment pipelines push updates without disrupting active user sessions.